About Me
My name is Marc Brooker. I've been writing code, reading code, and living vicariously through computers for as long as I can remember. I like to build things that work. I also dabble in machining, welding, cooking and skiing.I'm currently an engineer at Amazon Web Services (AWS) in Seattle, where I work on databases, serverless, and serverless databases. Before that, I worked on EC2 and EBS.
All opinions are my own. This is my less-technical blog on non-work topics. For my main blog, visit https://brooker.co.za/blog/.
Links
My Publications and Videos@marcbrooker on Mastodon @MarcJBrooker on Twitter
Building My Own Watch: About Face!
The next step I wanted to tackle in my watch making journey is making a dial: the face of the watch that goes behind the hands and movement. Dials are where watch makers show off their skill and artistry, with brands like JM Shapiro and RGM famous for intricate metalwork, especially the art of Guilloché. I don’t nearly have the skill (or equipment) to compete there.
But I do have a CNC machine, Rust, and a benchtop power supply. That’s the same as decades of skill and a 19th century rose engine1, right?
The dial I wanted to make has an intricate design, that reflects the light in a way that it looks different from different angles. Something to catch the eye.
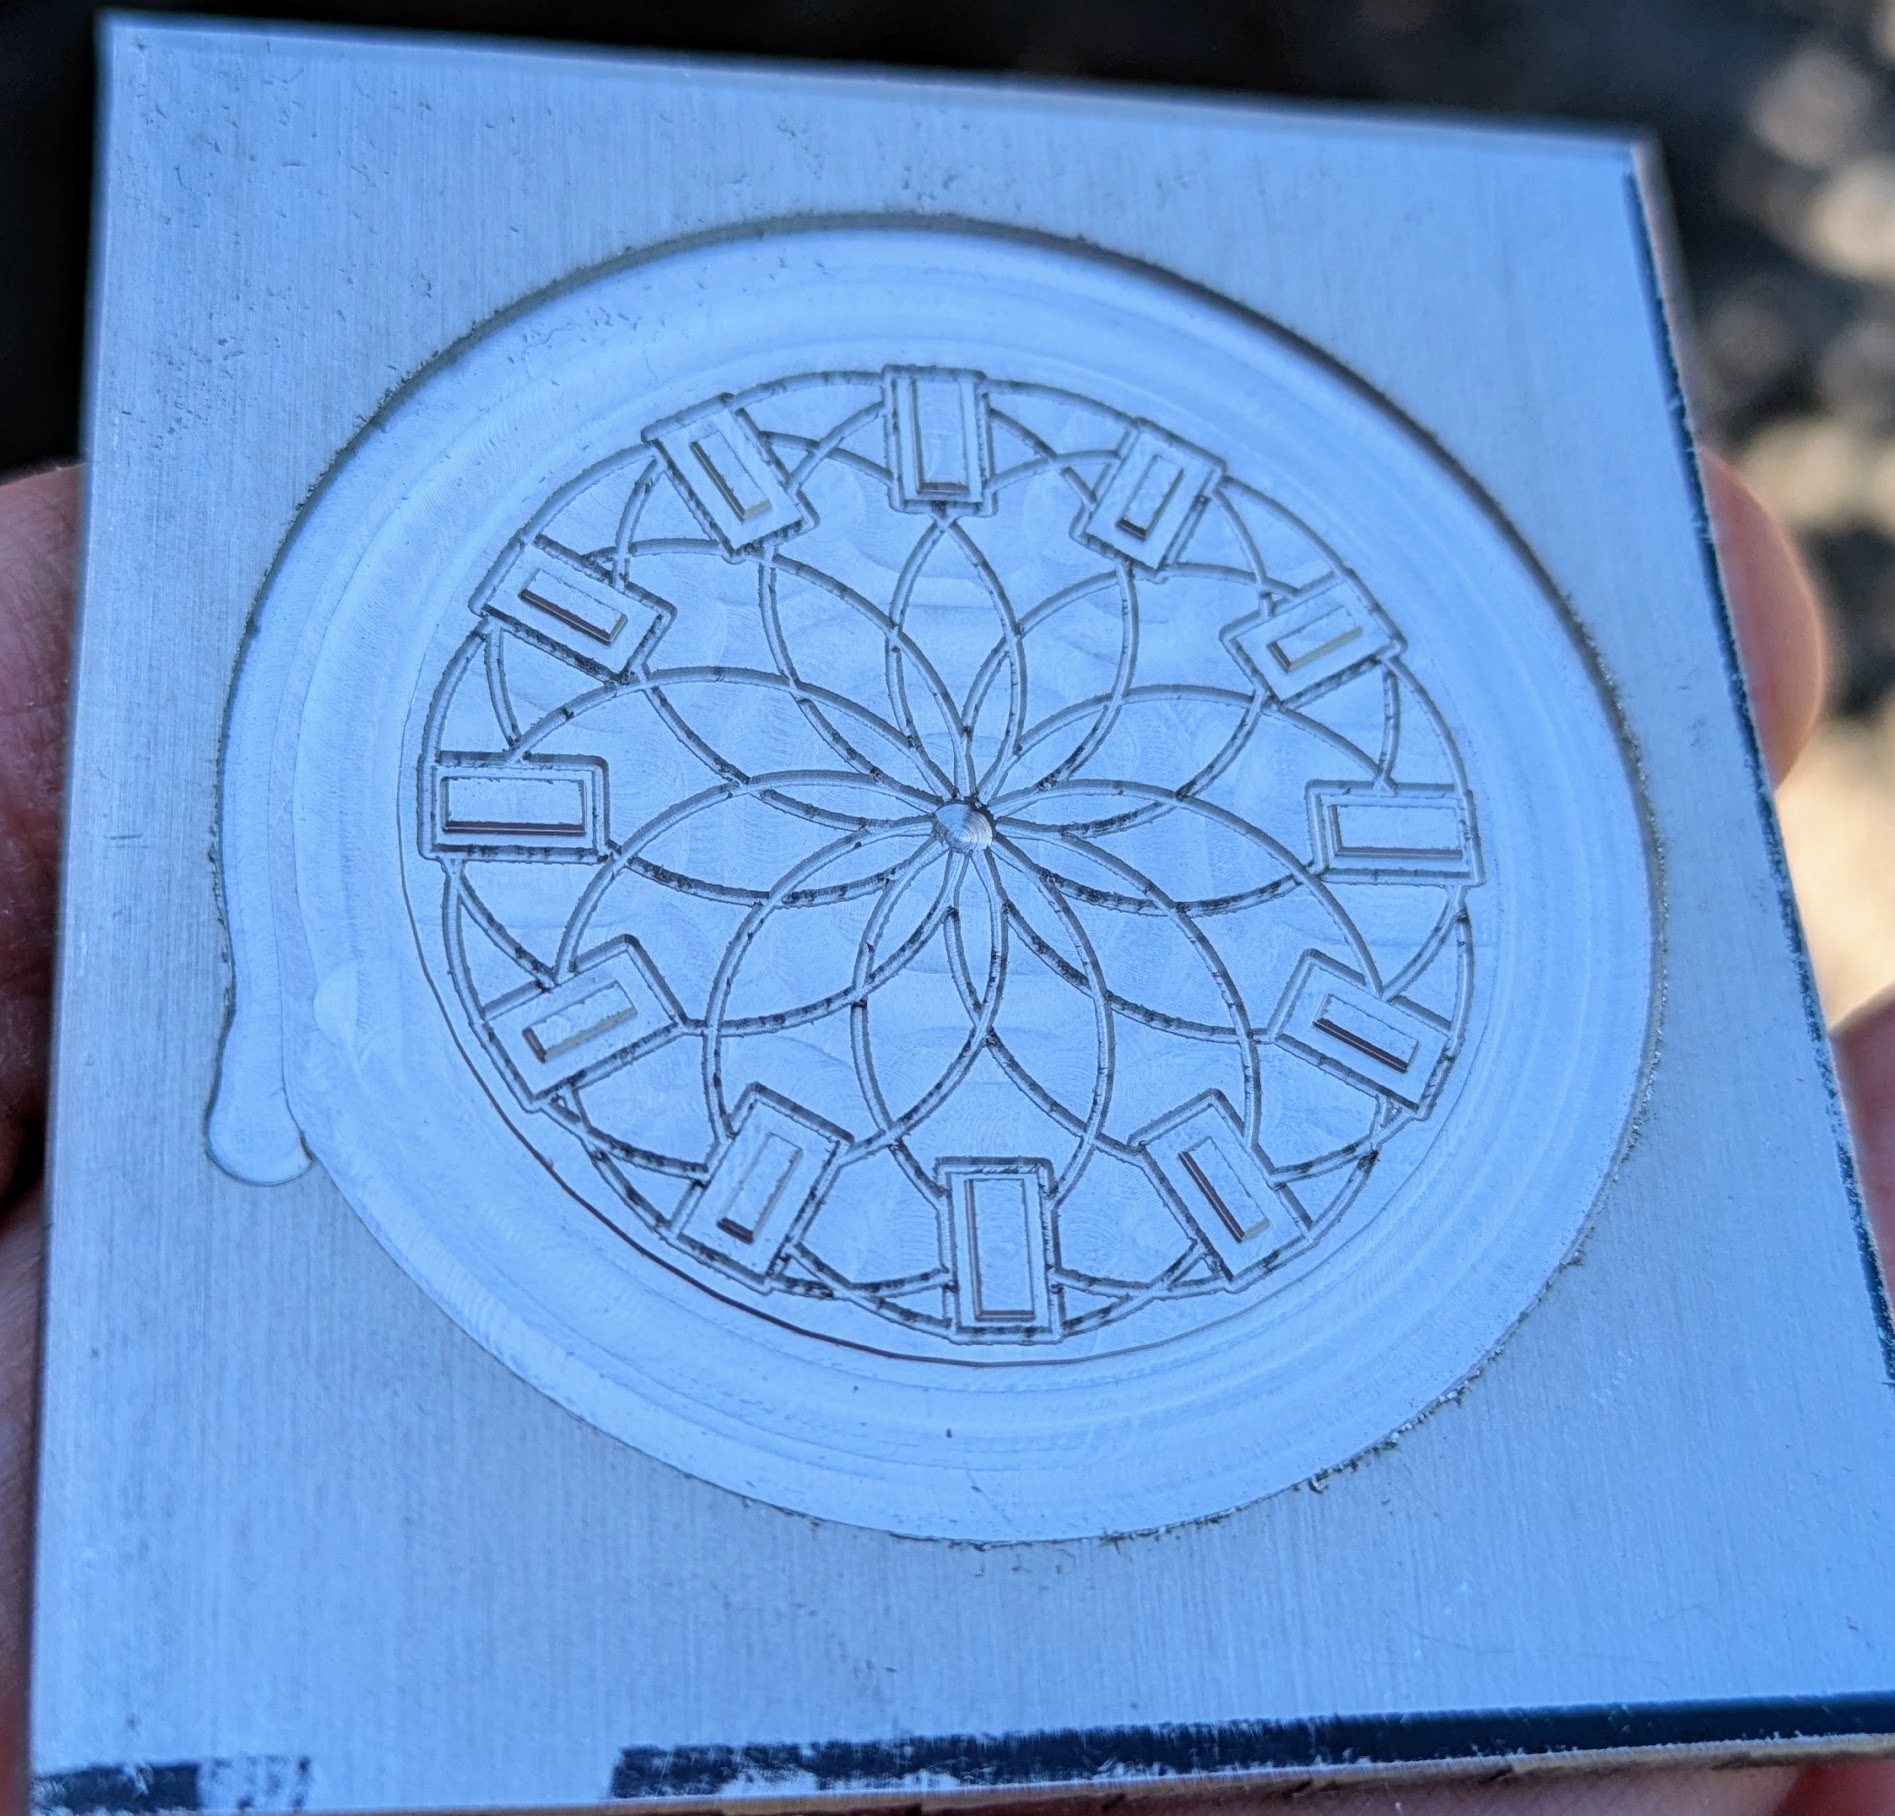
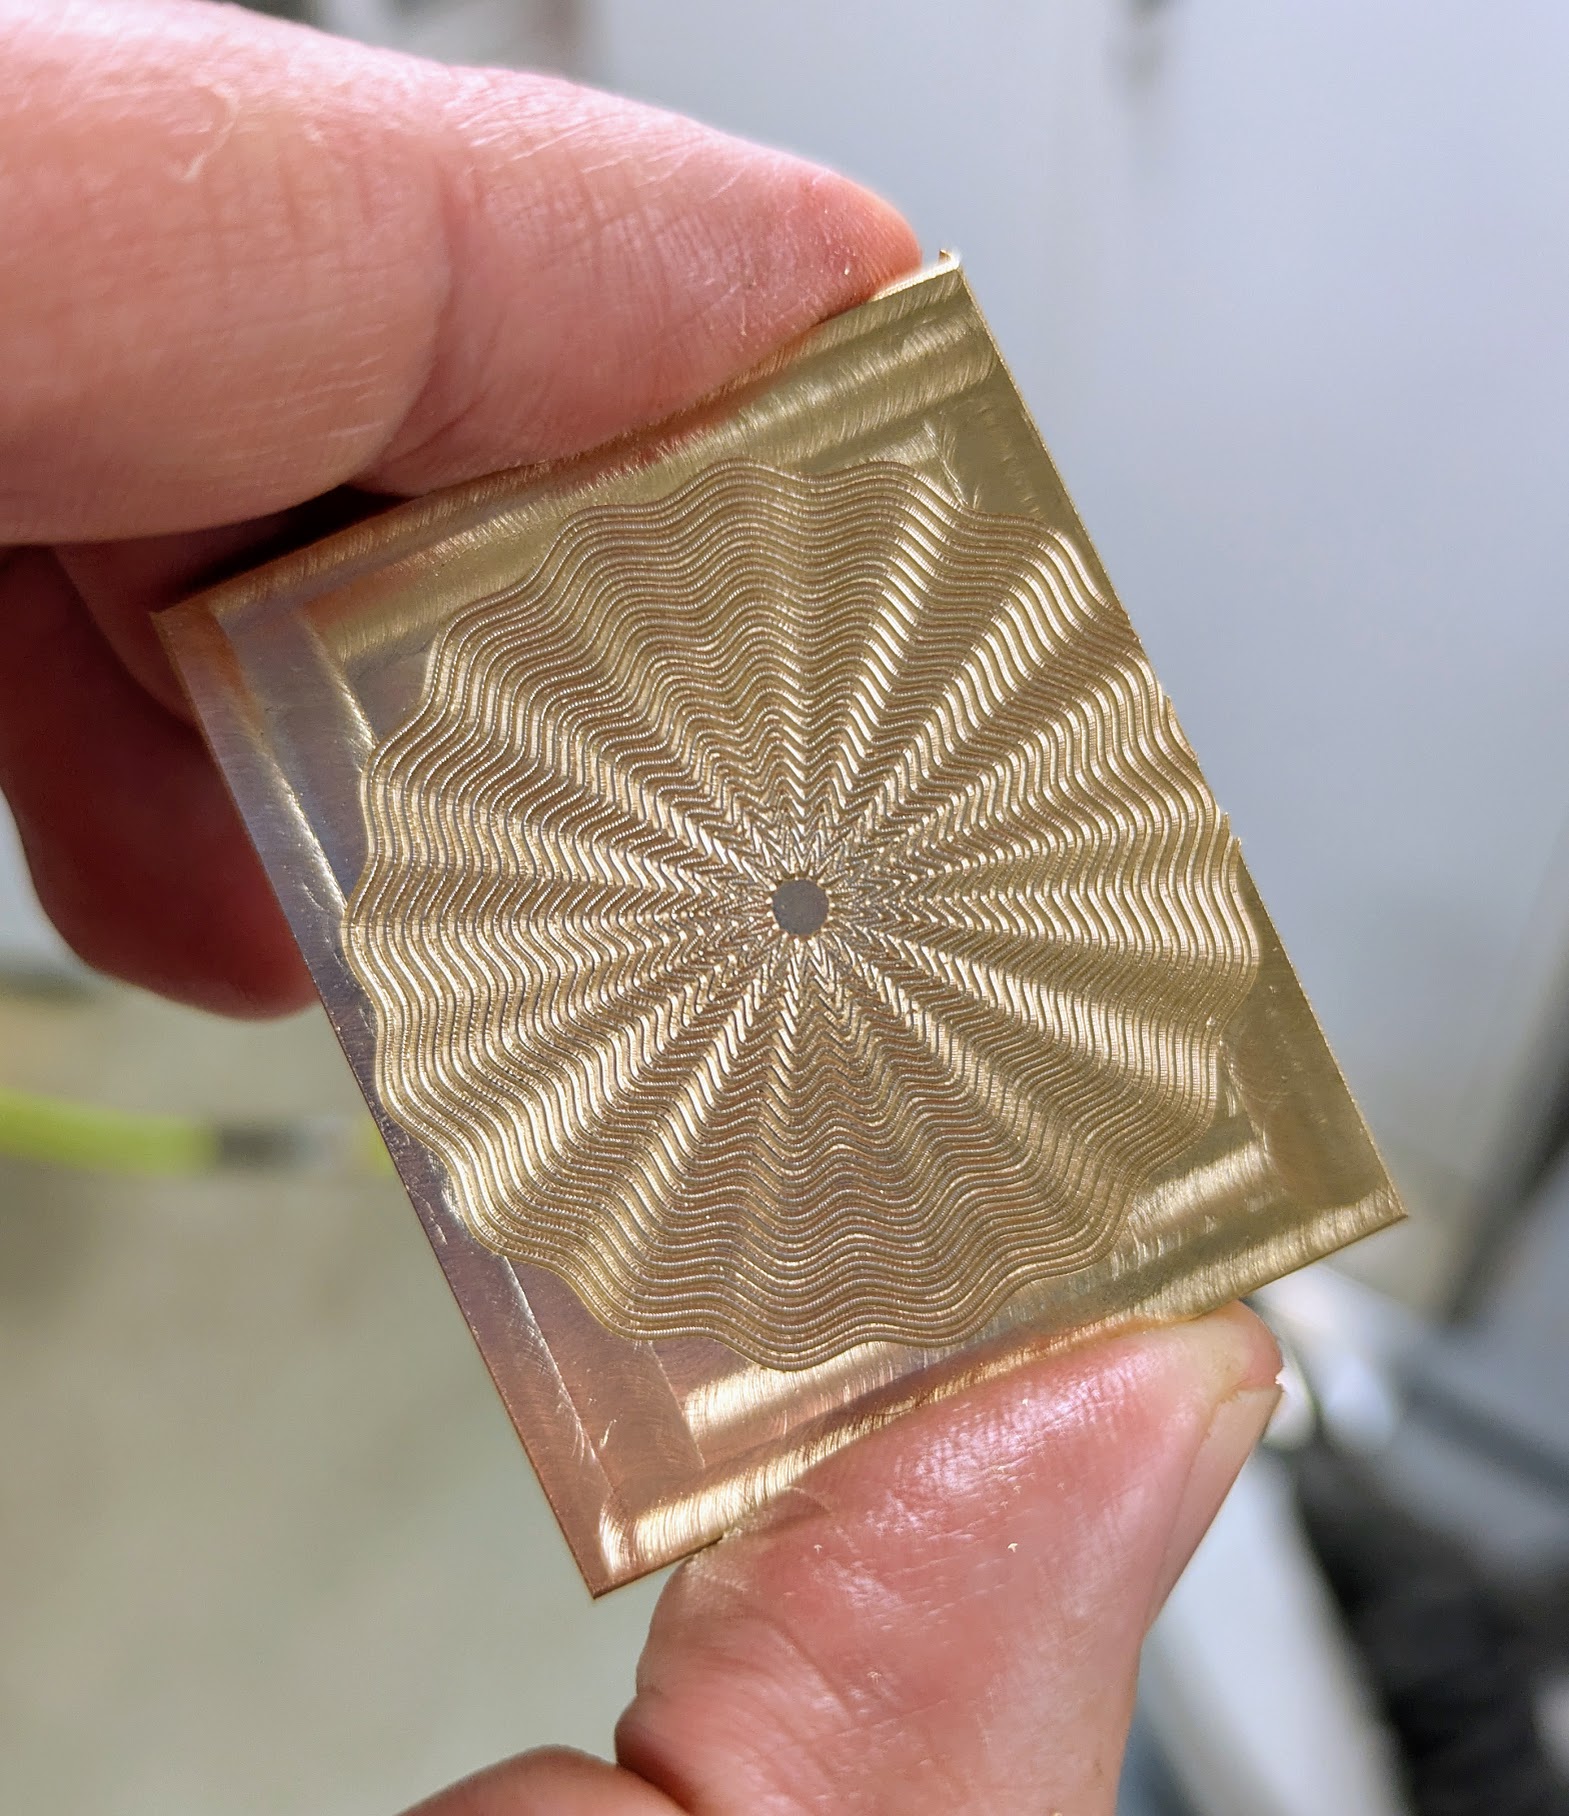
I played with a lot of different patterns: starbursts, spirals, weaves, weaves-within-weaves, waves, and waves-within-waves. Then I thought: you know who’s under-represented in the world of watch design? Q*Bert, the greatest of 1980s arcade heroes.

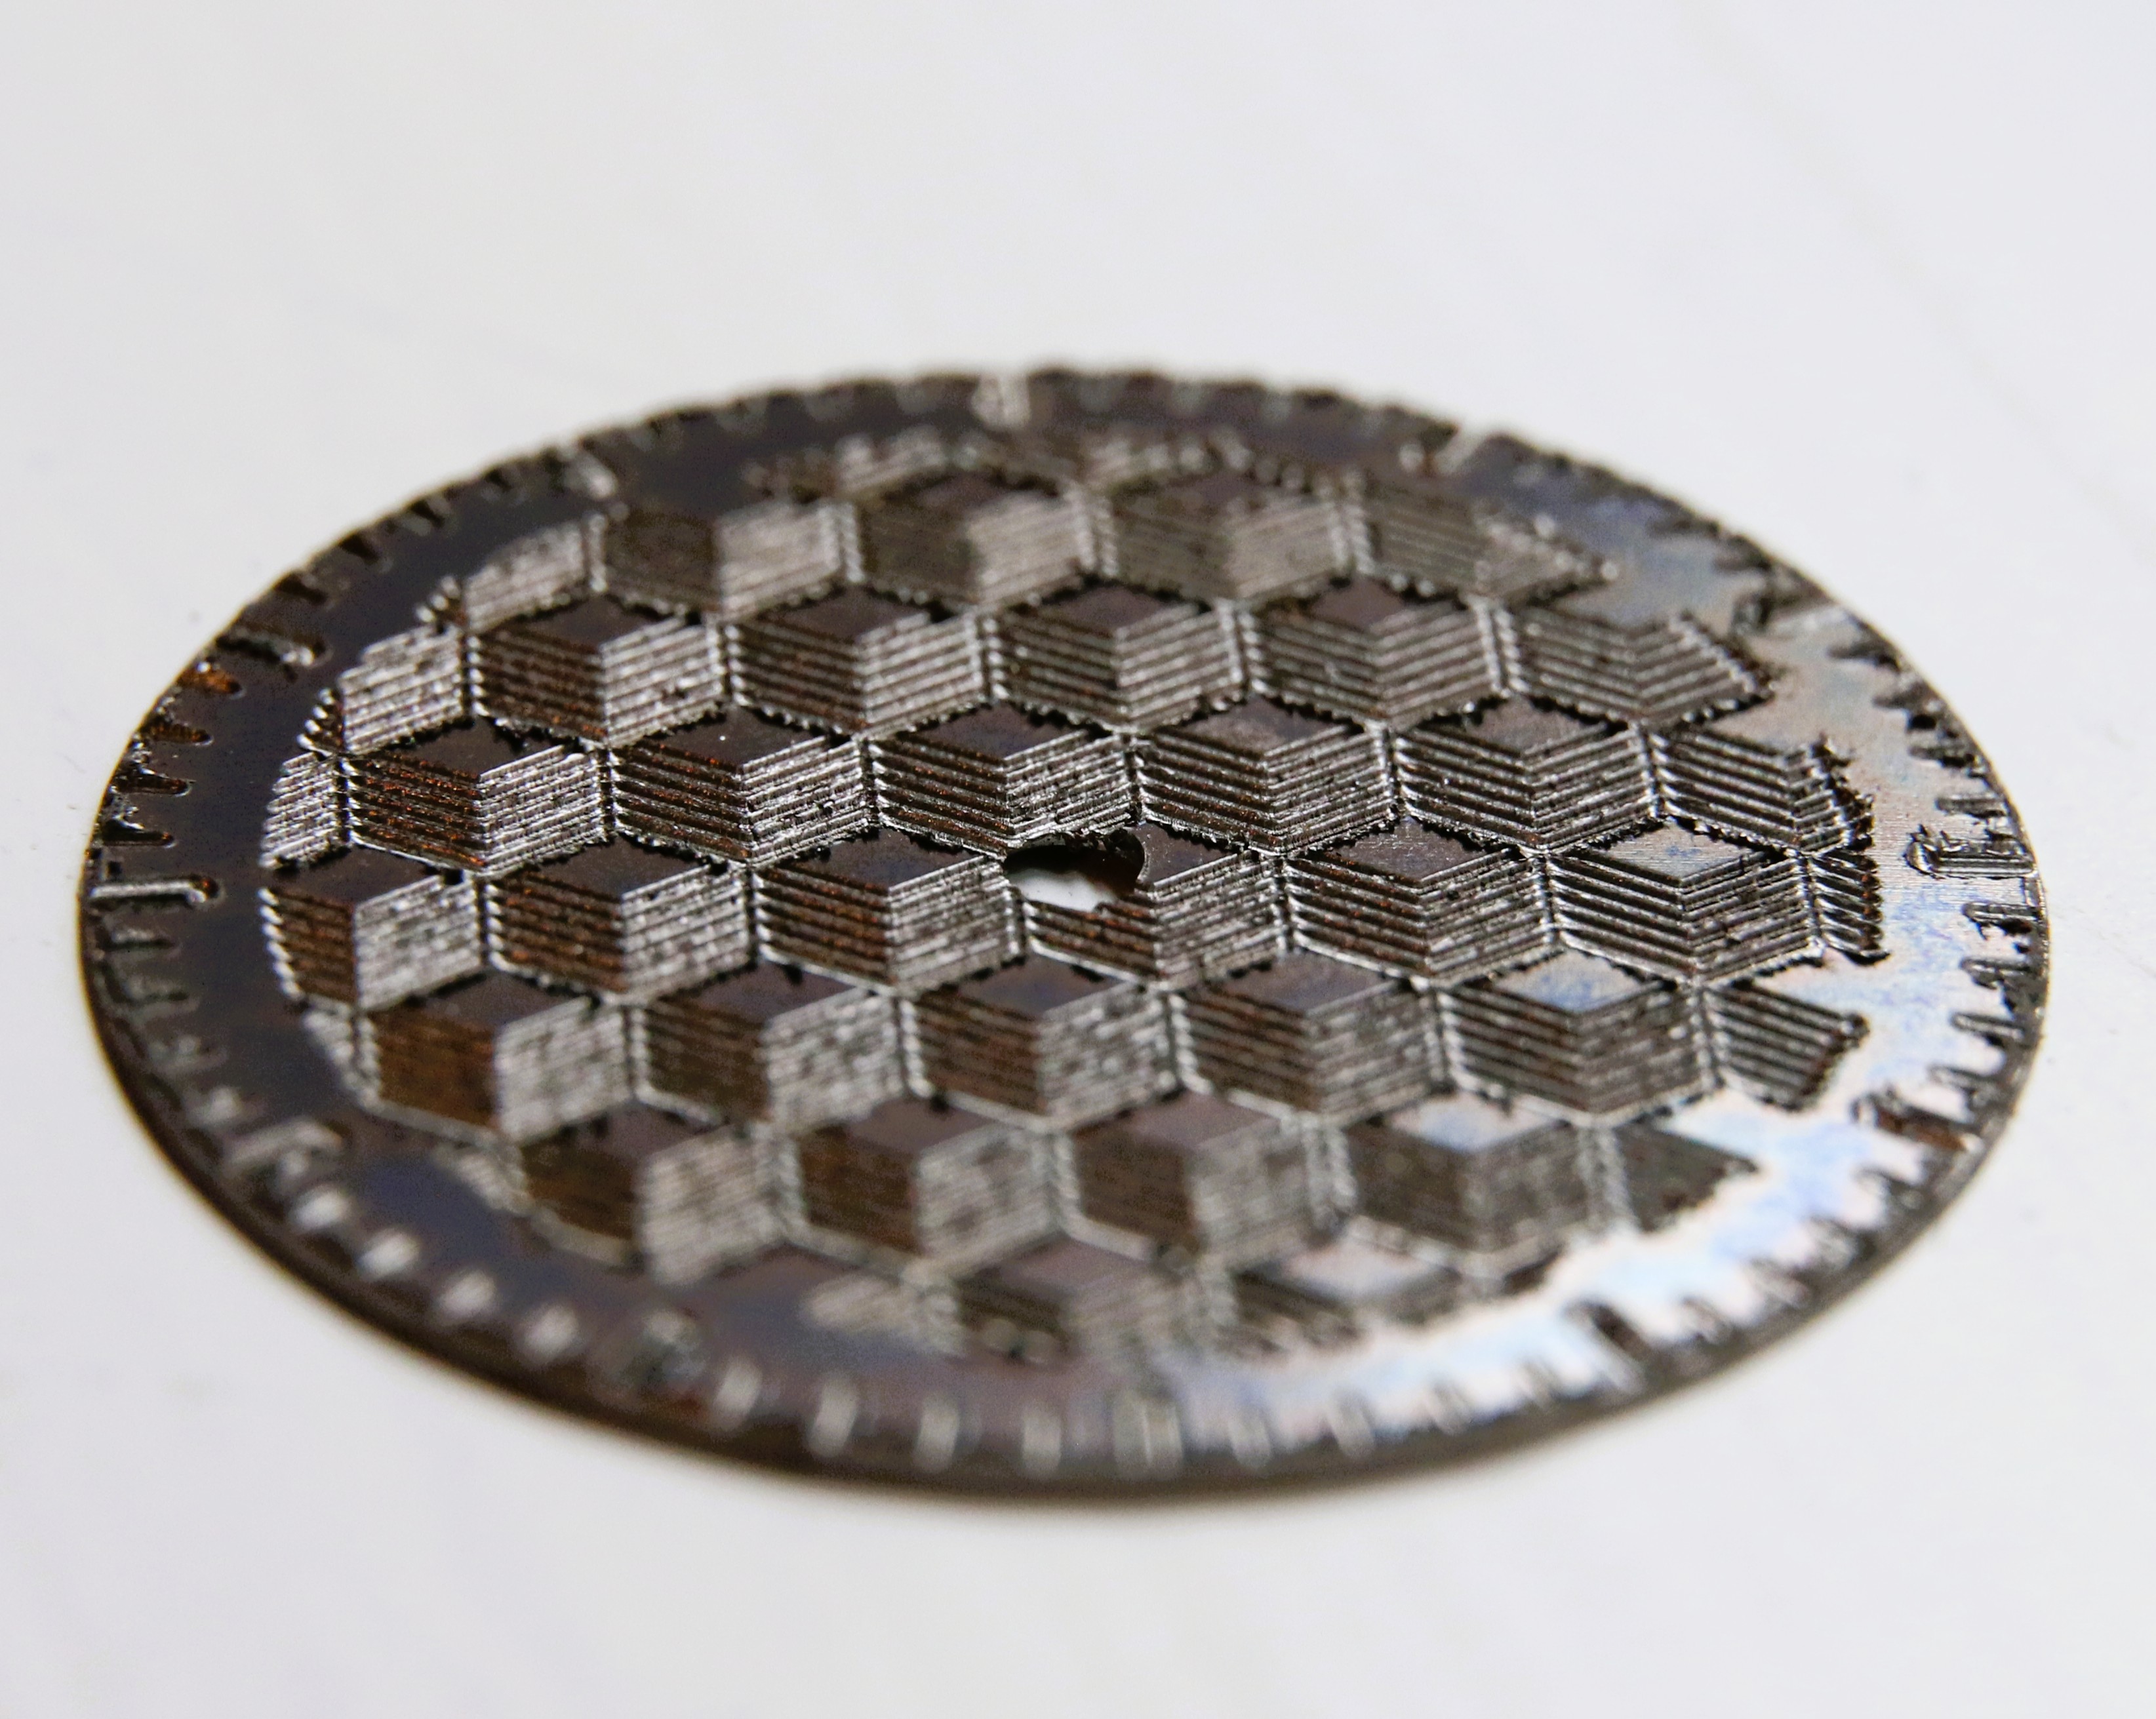
The idea was to engrave a world of Q*Bert-style cubes, with the goal of them looking 3D when they catch the light at the right angle. The first step was to write some Rust code that generates the GCode that the machine will follow when engraving.
Now, GCode is a full programming language, and there’s nothing stopping you from writing all of this directly in GCode. Except sanity.
GCode in-hand, we need to decide which material to use.
The easiest metal to engrave is brass. Bronze is OK. Stainless is surprisingly OK, especially compared to how much of a pain it is to do other work on. Precious metals can be great, but are a little out of budget for a first prototype.
That leaves the flashiest, SR-71est, strength-to-weightest, controversial food additivest, star of the show: titanium.
Now, my watch is not engineered for extreme temperatures. Instead, I wanted to use titanium for another reason: it’s super easy to make it go all kinds of fun colors.
Sidenote: Electricity
Before I write about anodizing titanium, I need to talk a little about safety. The technique combines electricity with water. Water intentionally made conductive. Mixing water and electricity has a reputation for killing hobbyists. Most of these accidents are from fractal wood burning, where folks build janky devices harnessing thousands of volts to burn patterns into wood. Wikipedia says (citing Richardson and Johnson):
A 2020 review noted that the mortality rate of fractal wood burning cases was “significant” and “exceedingly high”.
Fractal wood burning kills and hurts folks partially because electricity above about 1000V is weird. Rules of thumb like “plastic is an insulator” and “electricity isn’t just going to jump out and kill you” don’t apply. It’s no doubt possible to fractal wood burn safely, but I strongly recommend you don’t try2
What I’m talking about here isn’t that. Instead of thousands of volts, we have (at most) 25V. Instead of amps, we have milliamps. Still, precautions and care are always important in the shop.
Anodizing Titanium
Ok, back to my buddy Ti.
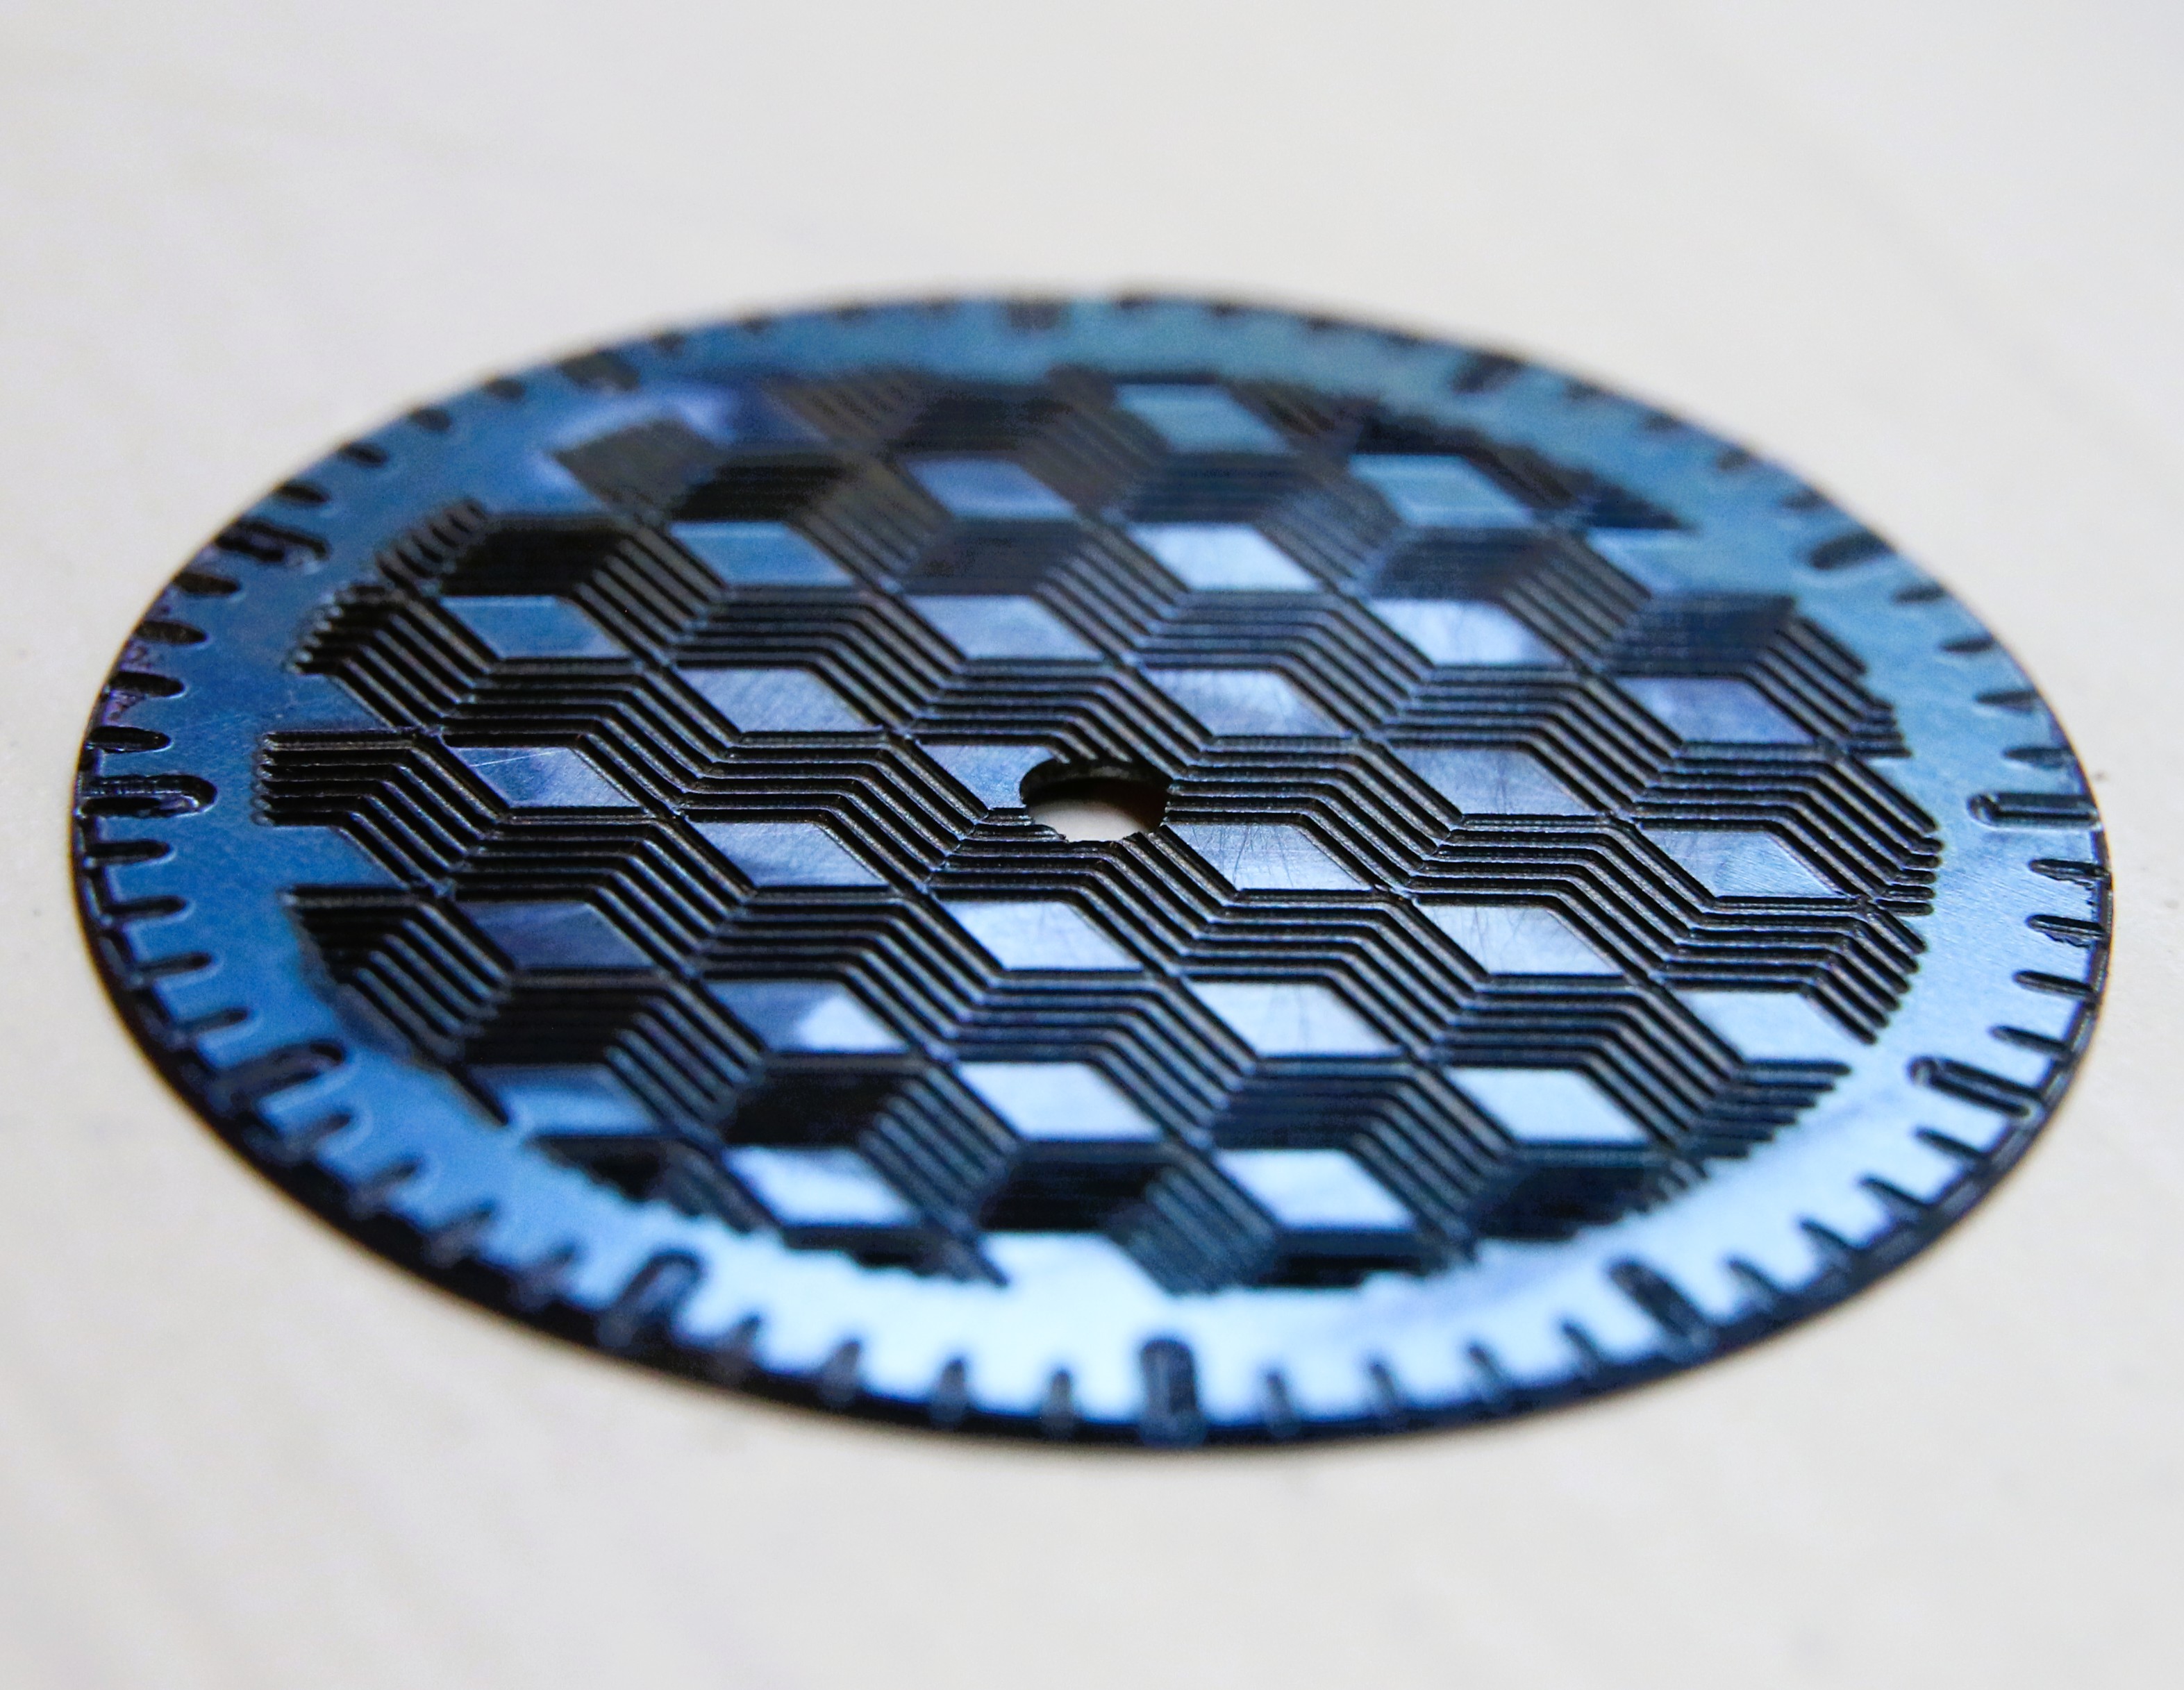
Titanium is the easiest metal to anodize in the home shop. As with aluminium, anodizing titanium coats the metal in a thin layer of metal oxides. In Titanium, this non-conductive oxide layer is super thin. As in single wavelength of light thin. This is where the magic happens: if you grow the layer just right, choosing just the right voltage, you can make the titanium look all kinds of cool colors by causing the light that bounces off the metal and the light that bounces off the oxide layer to cancel out.
This is similar to the structural coloration that makes jays blue.
The result is stunning.
The only hard part—and you can find a ton of tutorials online—is cleaning up really nicely. Even tiny traces of oil and dust wreck the finish. I do a wash with degreaser, a wash with acetone, and then a wash with isopropyl.
Engraving
The engraving was done on my little Tormach, with a 0.01” (250μm) ball tip engraver. I’m still not happy with the speeds and feeds for Ti. In brass, 200μm depth of cut, 300mm/minute, and 10,000 RPM produce nearly perfect results.

In Titanium, the same setting raises a really nasty burr. I don’t yet have a media blaster, but was able to clean up most of the burr with a brass brush and some elbow grease. You can tell in the photo above that it’s still not perfect, so I’m still working on better results right off the machine.

One thing that I have learned about engraving is that I get the best results breaking one of the golden rules of milling: get the damn chips out of the way. Eighty percent of the time hobbyist have a bad time milling (especially aluminium), it’s because they’re recutting chips. Here, though, I don’t flood or blast the chips away. Instead, I coat the whole part with anchorlube and let the chips hang out where they may.
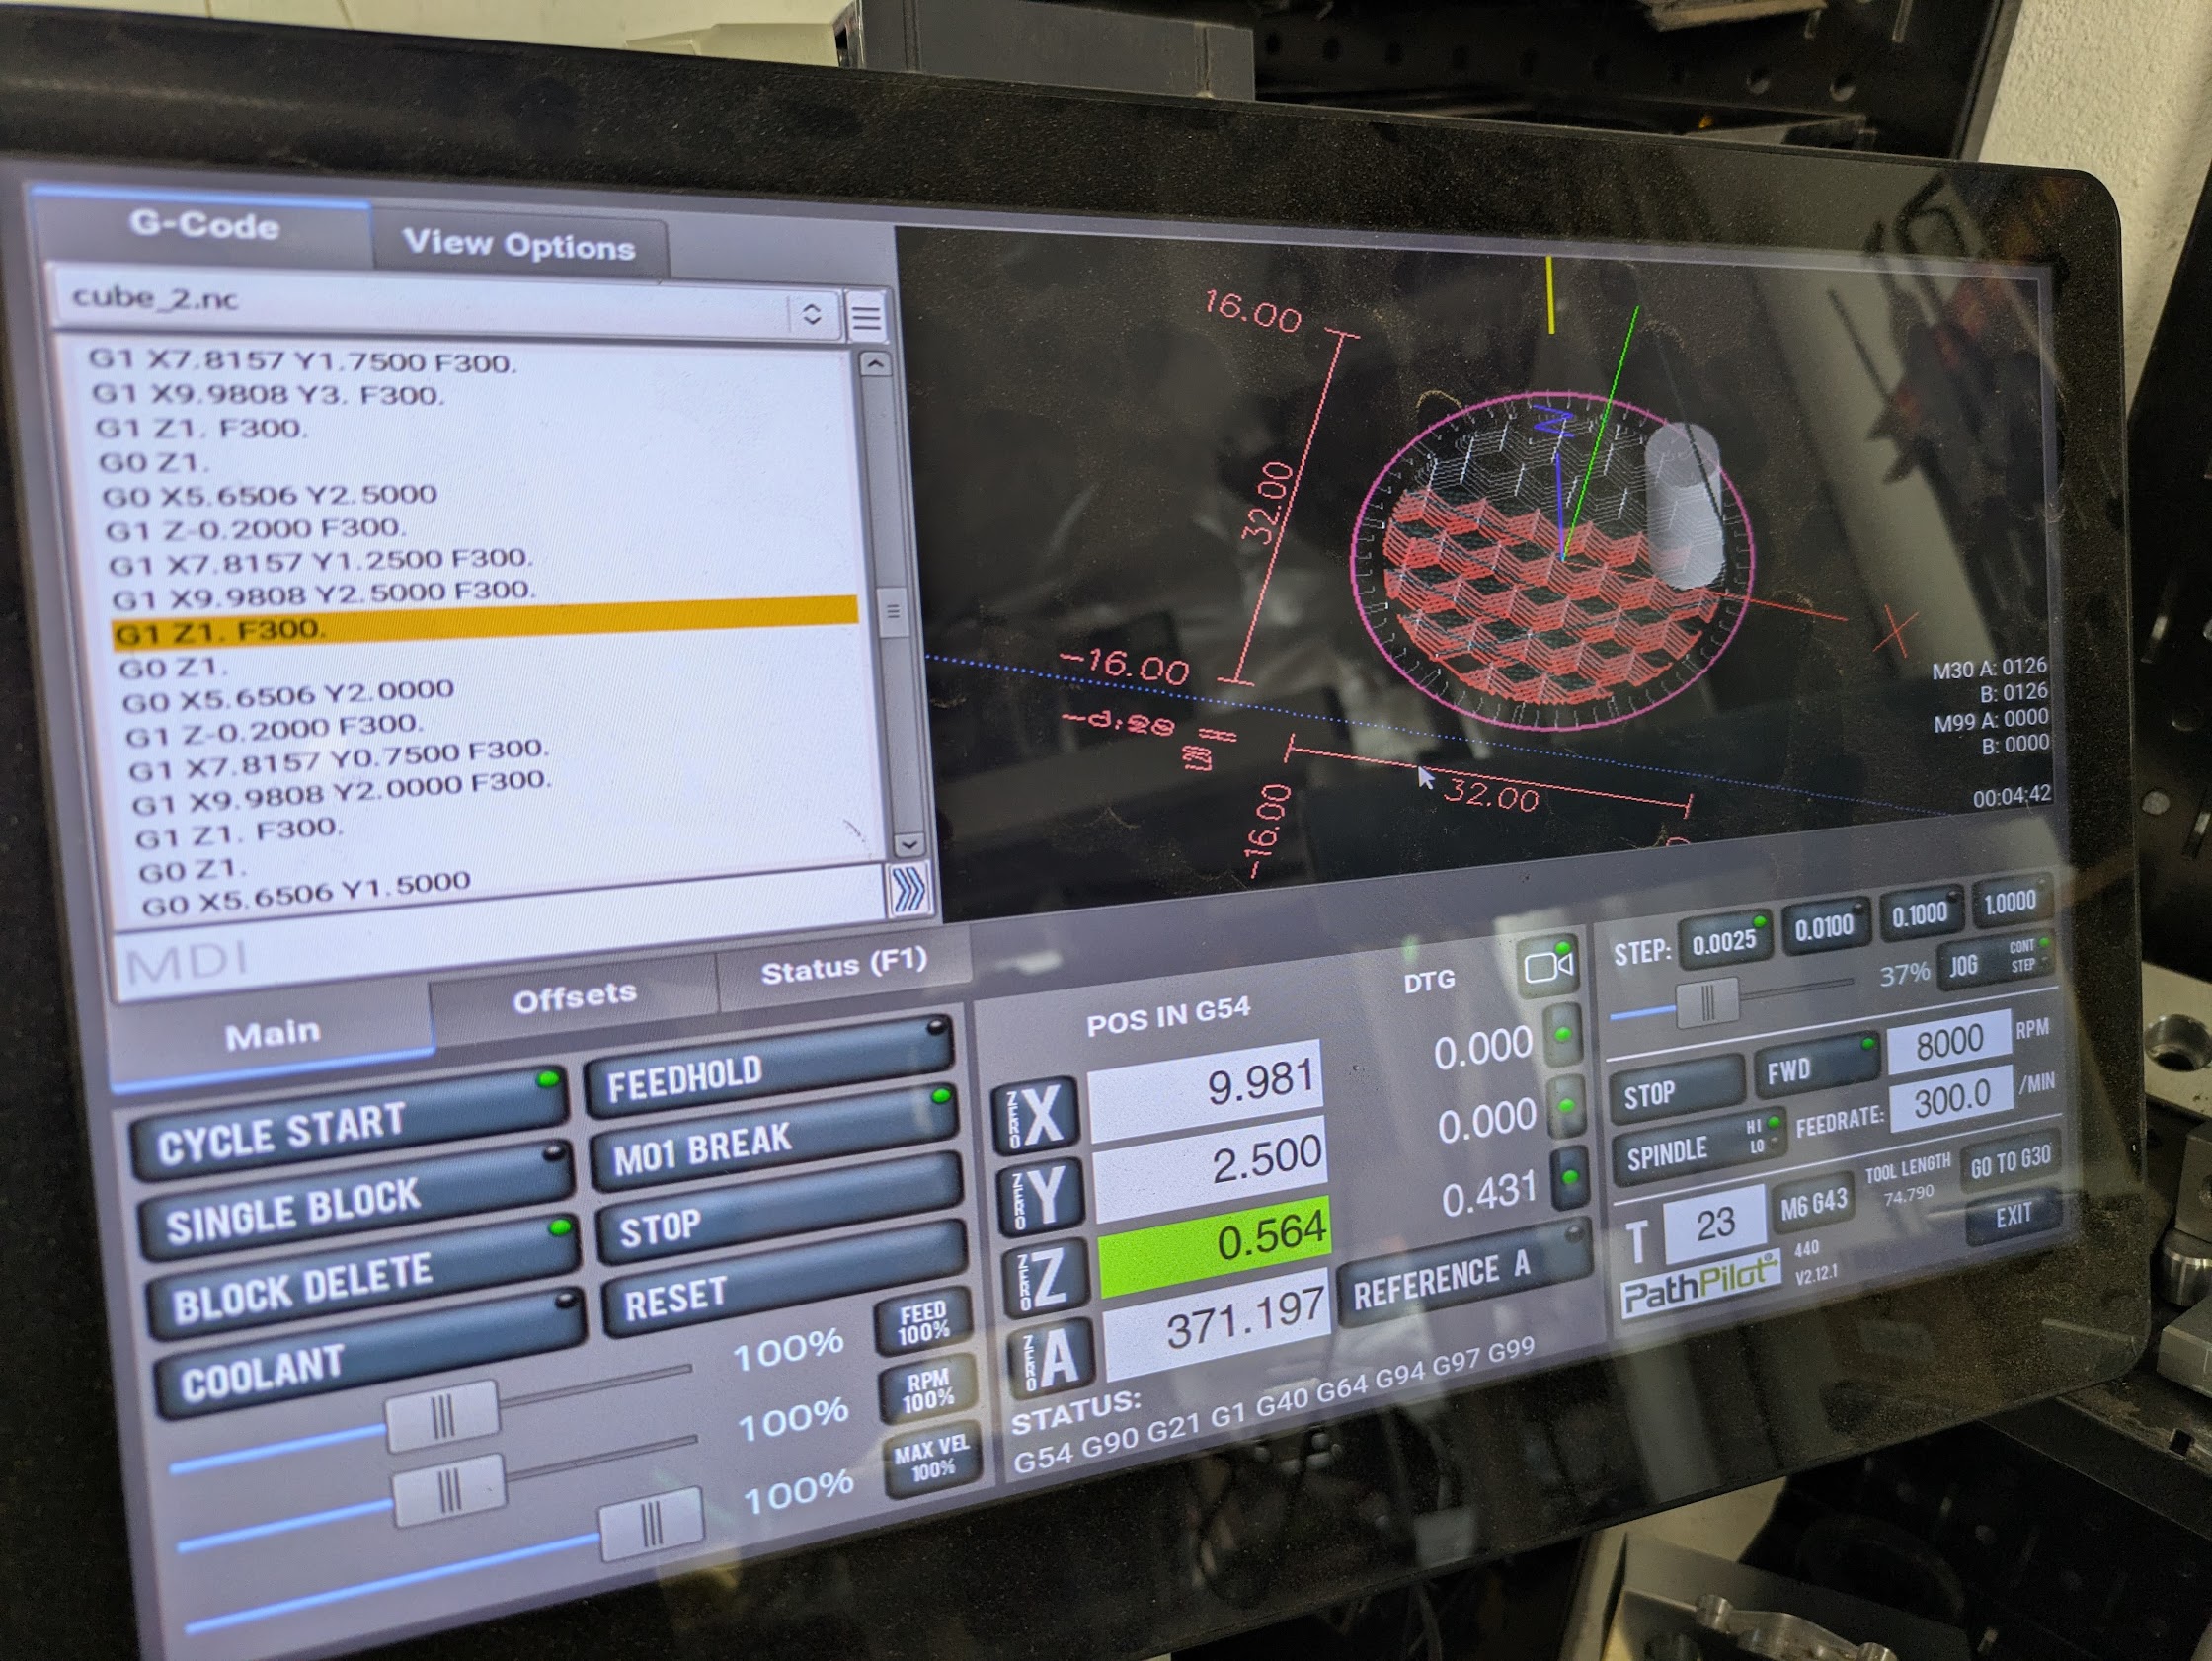
Under all those chips, the live preview on the CNC control comes in super useful.
Work holding here is the old standby: superglue. It works great, most of the time, but is a pain to remove. I’m working on a design for a little vacuum fixture to hold dials. Once I have that, iteration should be a good bit faster.
Assembly
After engraving, deburring, anodizing, and cleaning, its time to assemble. The dial goes on the movement, the hands go on, and then the whole thing goes into the case.

Under the harsh light of my assembly area, it looks terrible!
But the final result, once assembled, is pretty good.
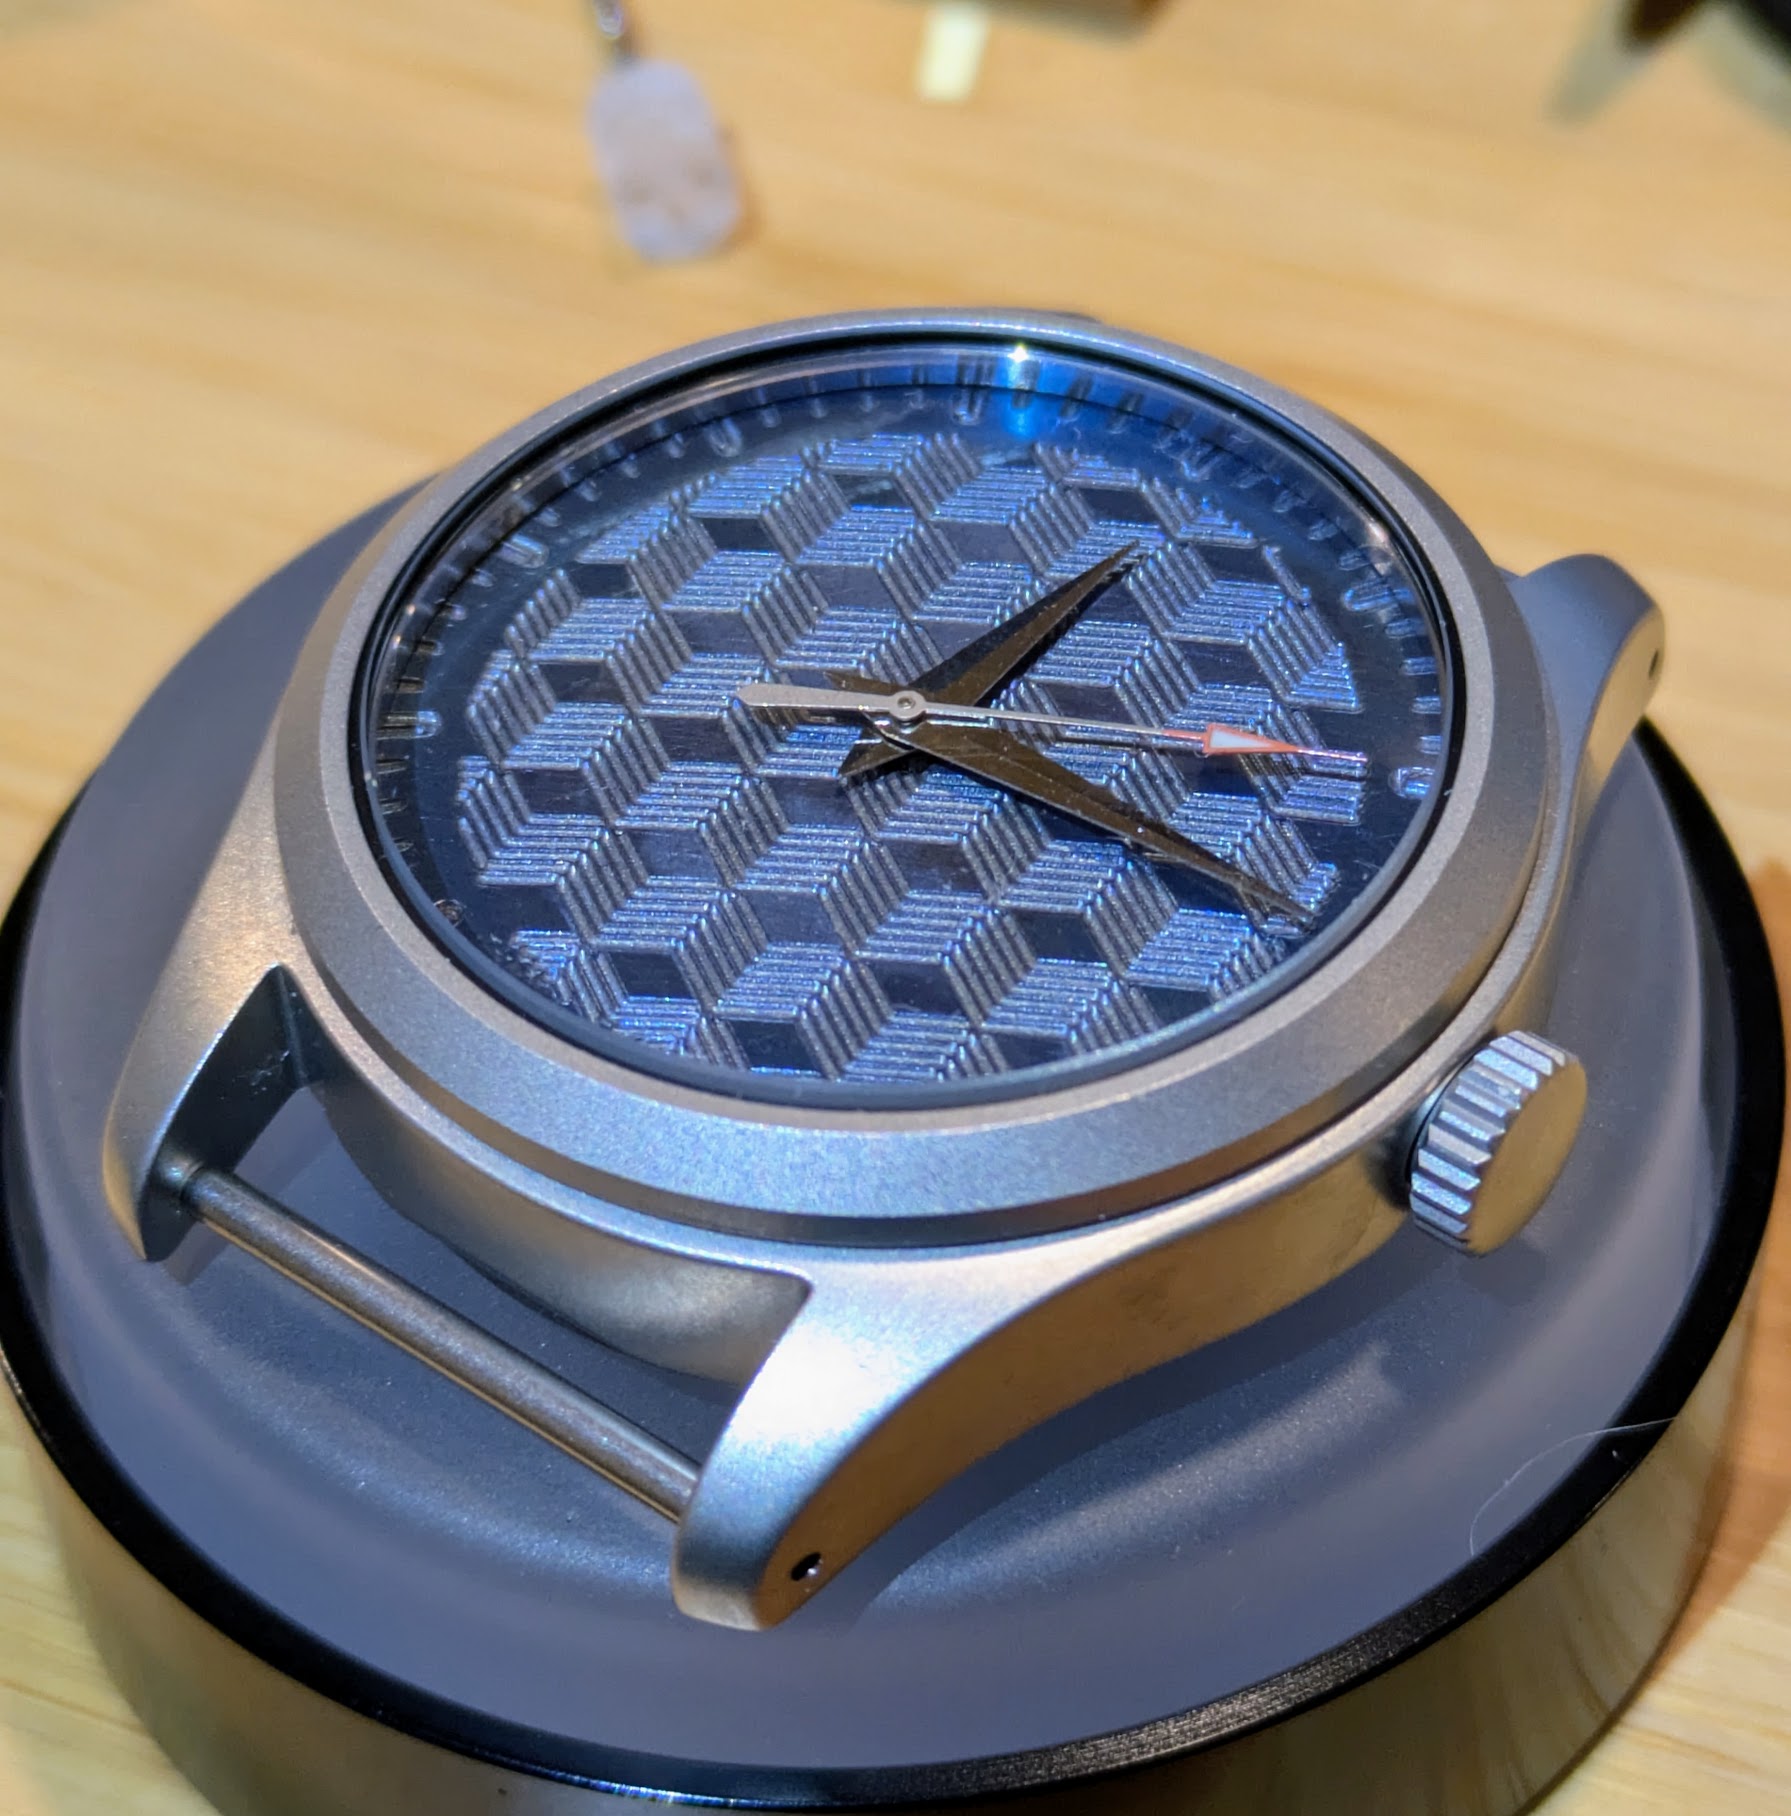
I’m very happy with that as a first attempt. I want to improve the legibility of the tick marks, add some color contrast, clean up the surface finish, and get the color more consistent across the surface. A long way to go, but happy with this as a first one.
Footnotes
Marc Brooker
The opinions on this site are my own. They do not necessarily represent those of my employer.
marcbrooker@gmail.com
