About Me
My name is Marc Brooker. I've been writing code, reading code, and living vicariously through computers for as long as I can remember. I like to build things that work. I also dabble in machining, welding, cooking and skiing.I'm currently an engineer at Amazon Web Services (AWS) in Seattle, where I work on databases, serverless, and serverless databases. Before that, I worked on EC2 and EBS.
All opinions are my own. This is my less-technical blog on non-work topics. For my main blog, visit https://brooker.co.za/blog/.
Links
My Publications and Videos@marcbrooker on Mastodon @MarcJBrooker on Twitter
Building My Own Watch: Threading
In previous steps, you’ll have noticed that my watch case has two holes1: one for the glass, and one for the mechanism to go in, closed with a case back. Nearly all watches work this way. The case back needs to be held in some way, and in this case2 it’s threaded.
Specifically an m35x0.5 thread. So 35mm outer diameter, with threads every 0.5mm. That’s a very big, and very fine thread. This is such a weird thread that even the mighty 3000 page Machinery’s Handbook denies all knowledge of it.
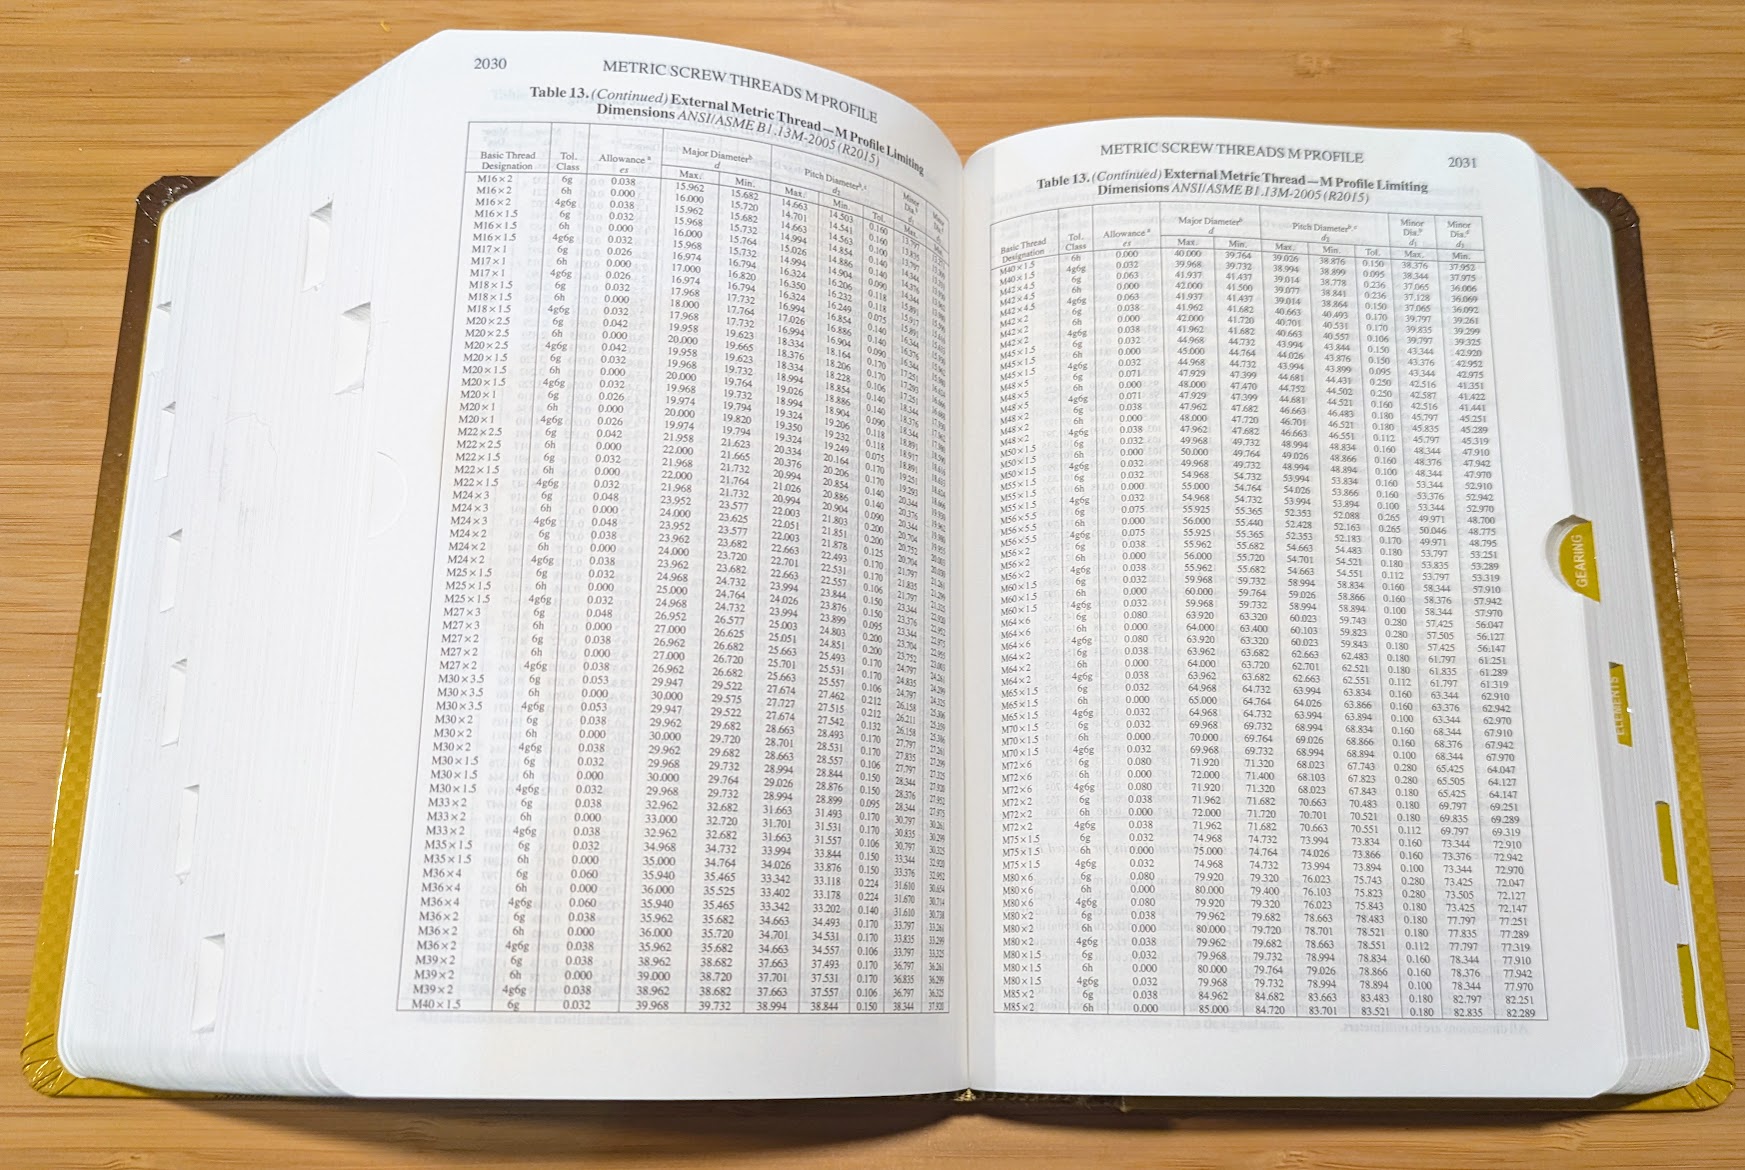
The typical way to cut an internal thread is with a tap, a kind a cross between a drill bit and a screw. For this weird thread, tapping isn’t ideal. First, not even the mighty McMaster-Carr stocks an M35x0.5 tap, and even if they did I’d expect it to run over $500. Second, given the geometry, it’d need to be bottoming tap, likely to be even harder to find. Third, aligning a tap like that would be impossible.
So we need another option. One option is to cut it on the lathe. This is a technique I’m familiar with, and the whole point of my silly hybrid electronic lathe conversion was to make it easier. But I wanted to try something new here: thread milling.
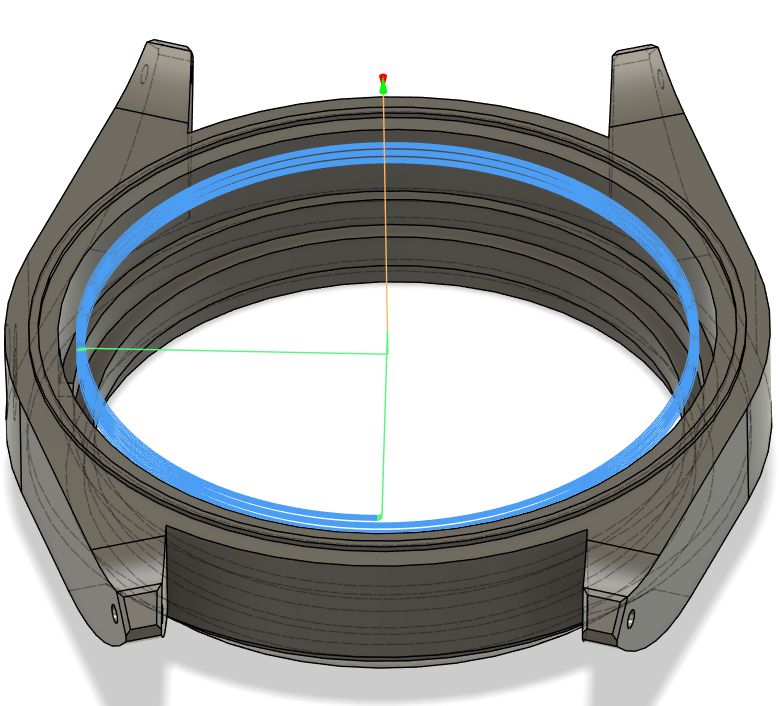
Here’s the basic idea: we take a tiny milling tool with a 60° corner, and spiral it down along the thread profile. Thread milling is fast, theoretically very accurate, flexible, and apparently easy.
But I’ve never tried it before.
And the tool for this 0.5mm pitch is, no kidding, very tiny indeed.
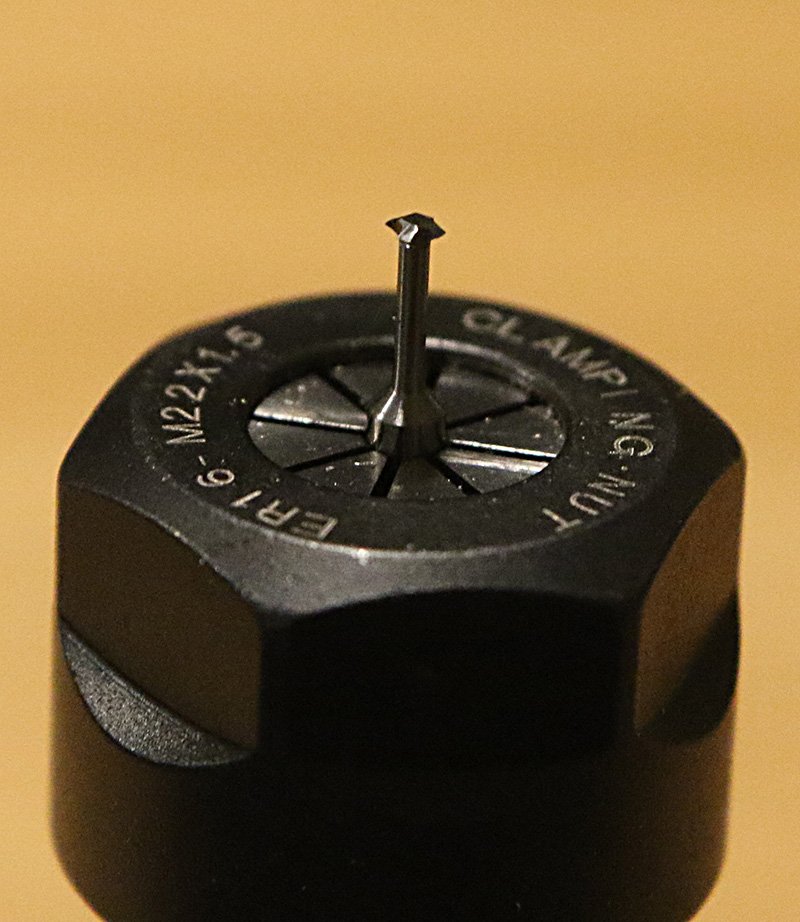
So, here’s the plan: we’re going to spin this wee guy around at 10,000 RPM, spiral down at 400mm a minute, and nibble out the thread 0.1mm at a time. Six passes and we’re done. Less than five minutes.
The problem with a tiny tool like this is that there’s no margin for error. Its 1.25mm carbide shaft is strong, but brittle. Even the tiniest mistake and it’ll snap like a twig. No pressure.

To get this right we have to nail two things: dialing in the tool so it has very little runout, and getting the work piece in exactly the right place. This is important because each tooth of this tool is going to be biting out only 13μm of metal, so if the runout or location is wrong by even 10μm it’ll nearly double the chip load. The second was easy: do the bores, then thread without resetting the machine or moving the work. The latter was a little harder.
The first collet I tried I got nearly 30μm of runout at the tip! A brand new collet, very clean collet holder, and a couple goes getting the tightening torque right, and I was within 5μm. Not all bad.
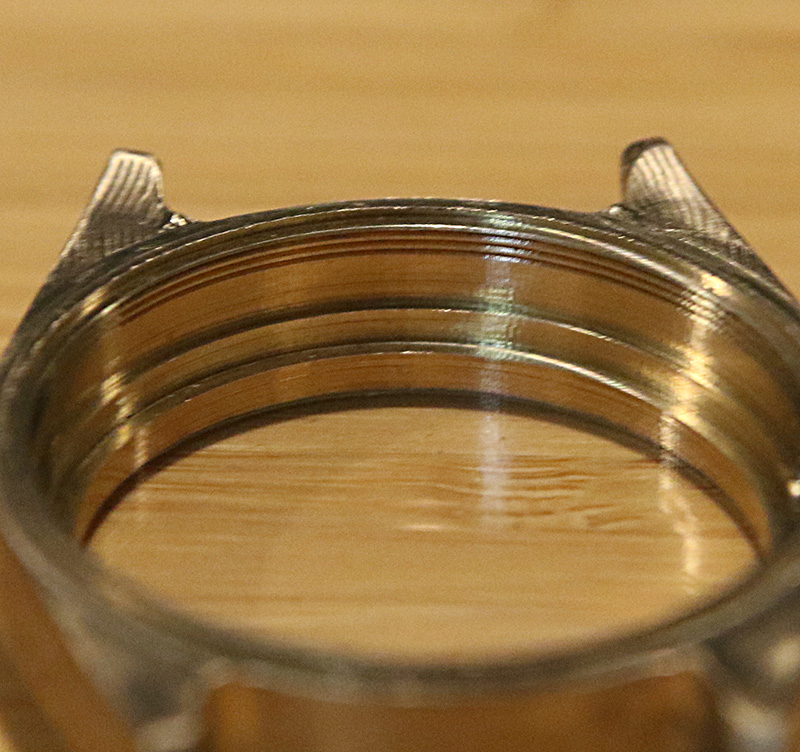
And, in the end, it all worked out fine. First time, which is honestly kind of amazing. Thanks to NYC CNC’s tutorial, even the dimensions came out perfect, and the stock case back screwed right it. When I get around to making the case back, I’ll make the external thread on that. In stainless, which is likely to be even less fun than in bronze.
Footnotes
Marc Brooker
The opinions on this site are my own. They do not necessarily represent those of my employer.
marcbrooker@gmail.com
