About Me
My name is Marc Brooker. I've been writing code, reading code, and living vicariously through computers for as long as I can remember. I like to build things that work. I also dabble in machining, welding, cooking and skiing.I'm currently an engineer at Amazon Web Services (AWS) in Seattle, where I work on databases, serverless, and serverless databases. Before that, I worked on EC2 and EBS.
All opinions are my own. This is my less-technical blog on non-work topics. For my main blog, visit https://brooker.co.za/blog/.
Links
My Publications and Videos@marcbrooker on Mastodon @MarcJBrooker on Twitter
Building My Own Watch: First Case Steps
In my last post, I talked through some of the choices I’d make for the first step of my watch making project. This post is the first step of the first step: an initial version of the watch case. A beta.
First, the unfinished product. The first prototype.
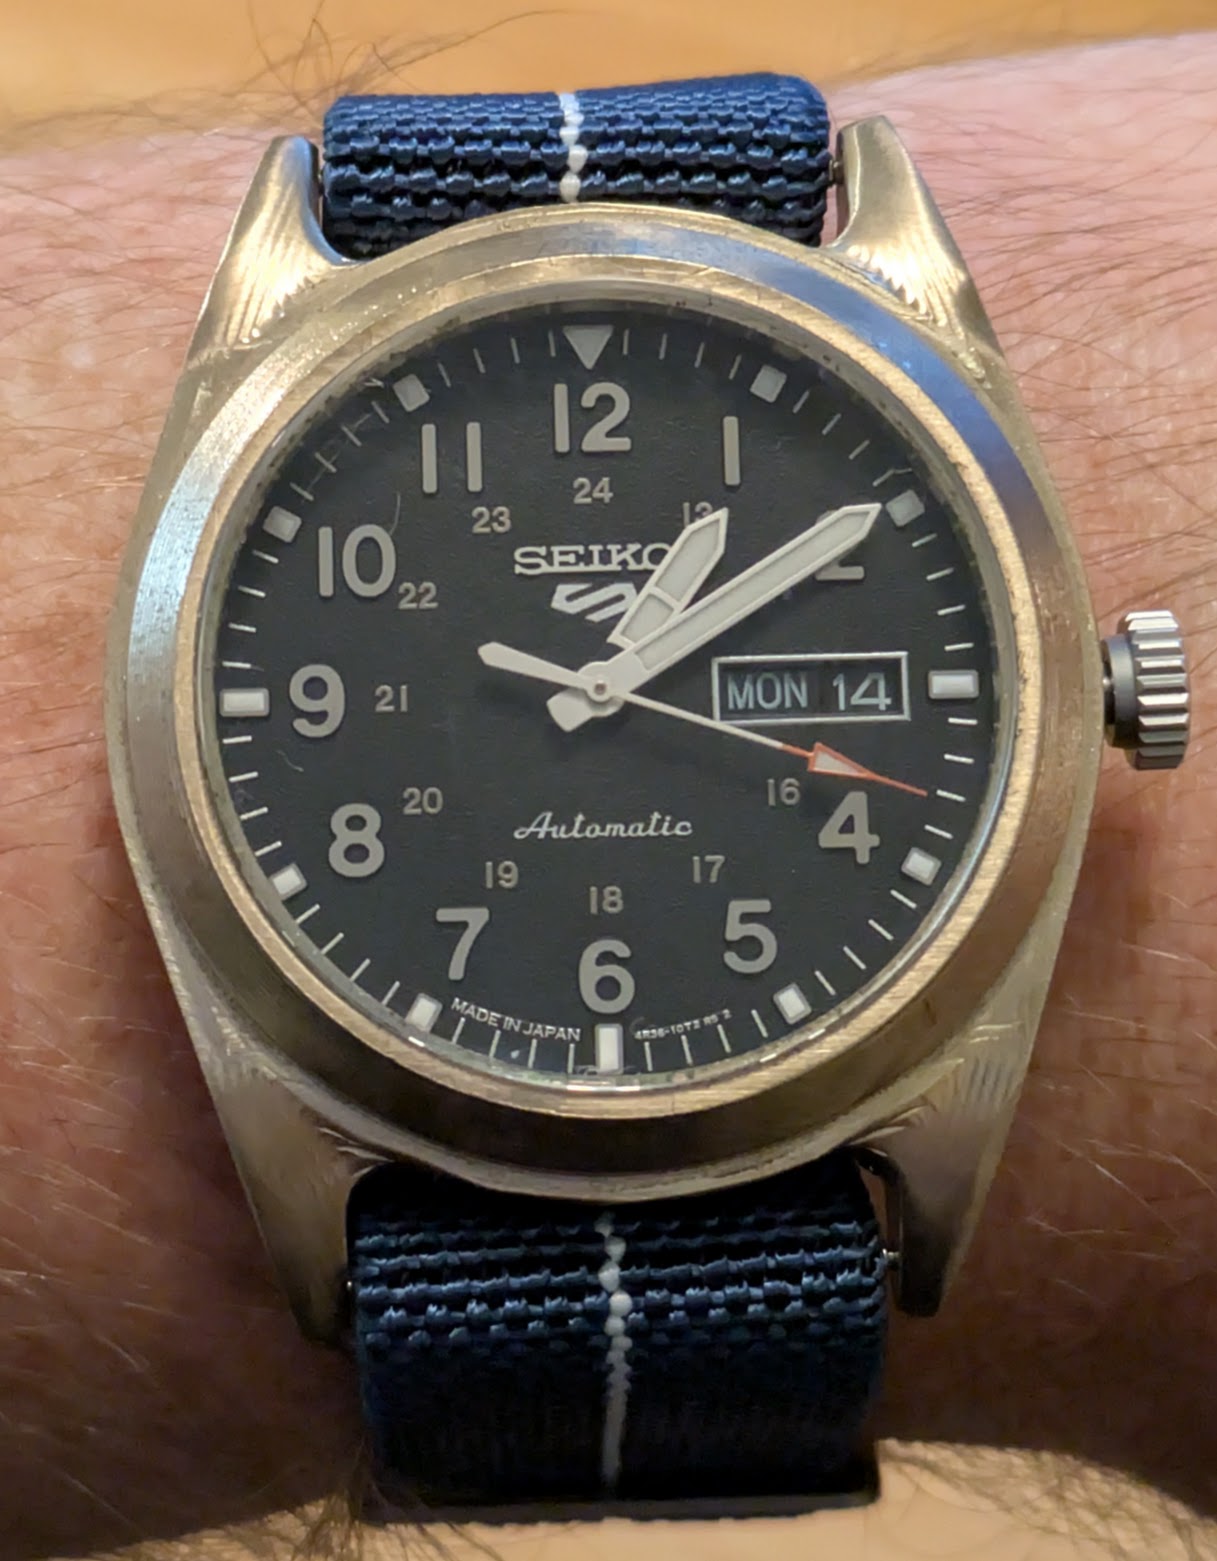
You’ll notice that this has a stock Seiko dial, hands, and crown. But the case is mine! Not the final one, but a first fit of something that works. In this post, I’ll go through the first couple steps in making it.
Step 1: Workholding
The hardest part about machining is figuring out how to hold the things you’re machining. It’s easy when its a block you only need a access from one side (chuck it in the vise), and gets harder from there. This project was particularly challenging. The case is oddly shaped, needs to be accessed from four sides, and is rather delicate once complete. No existing vise, collet, chuck, or fixture would hold it nicely.
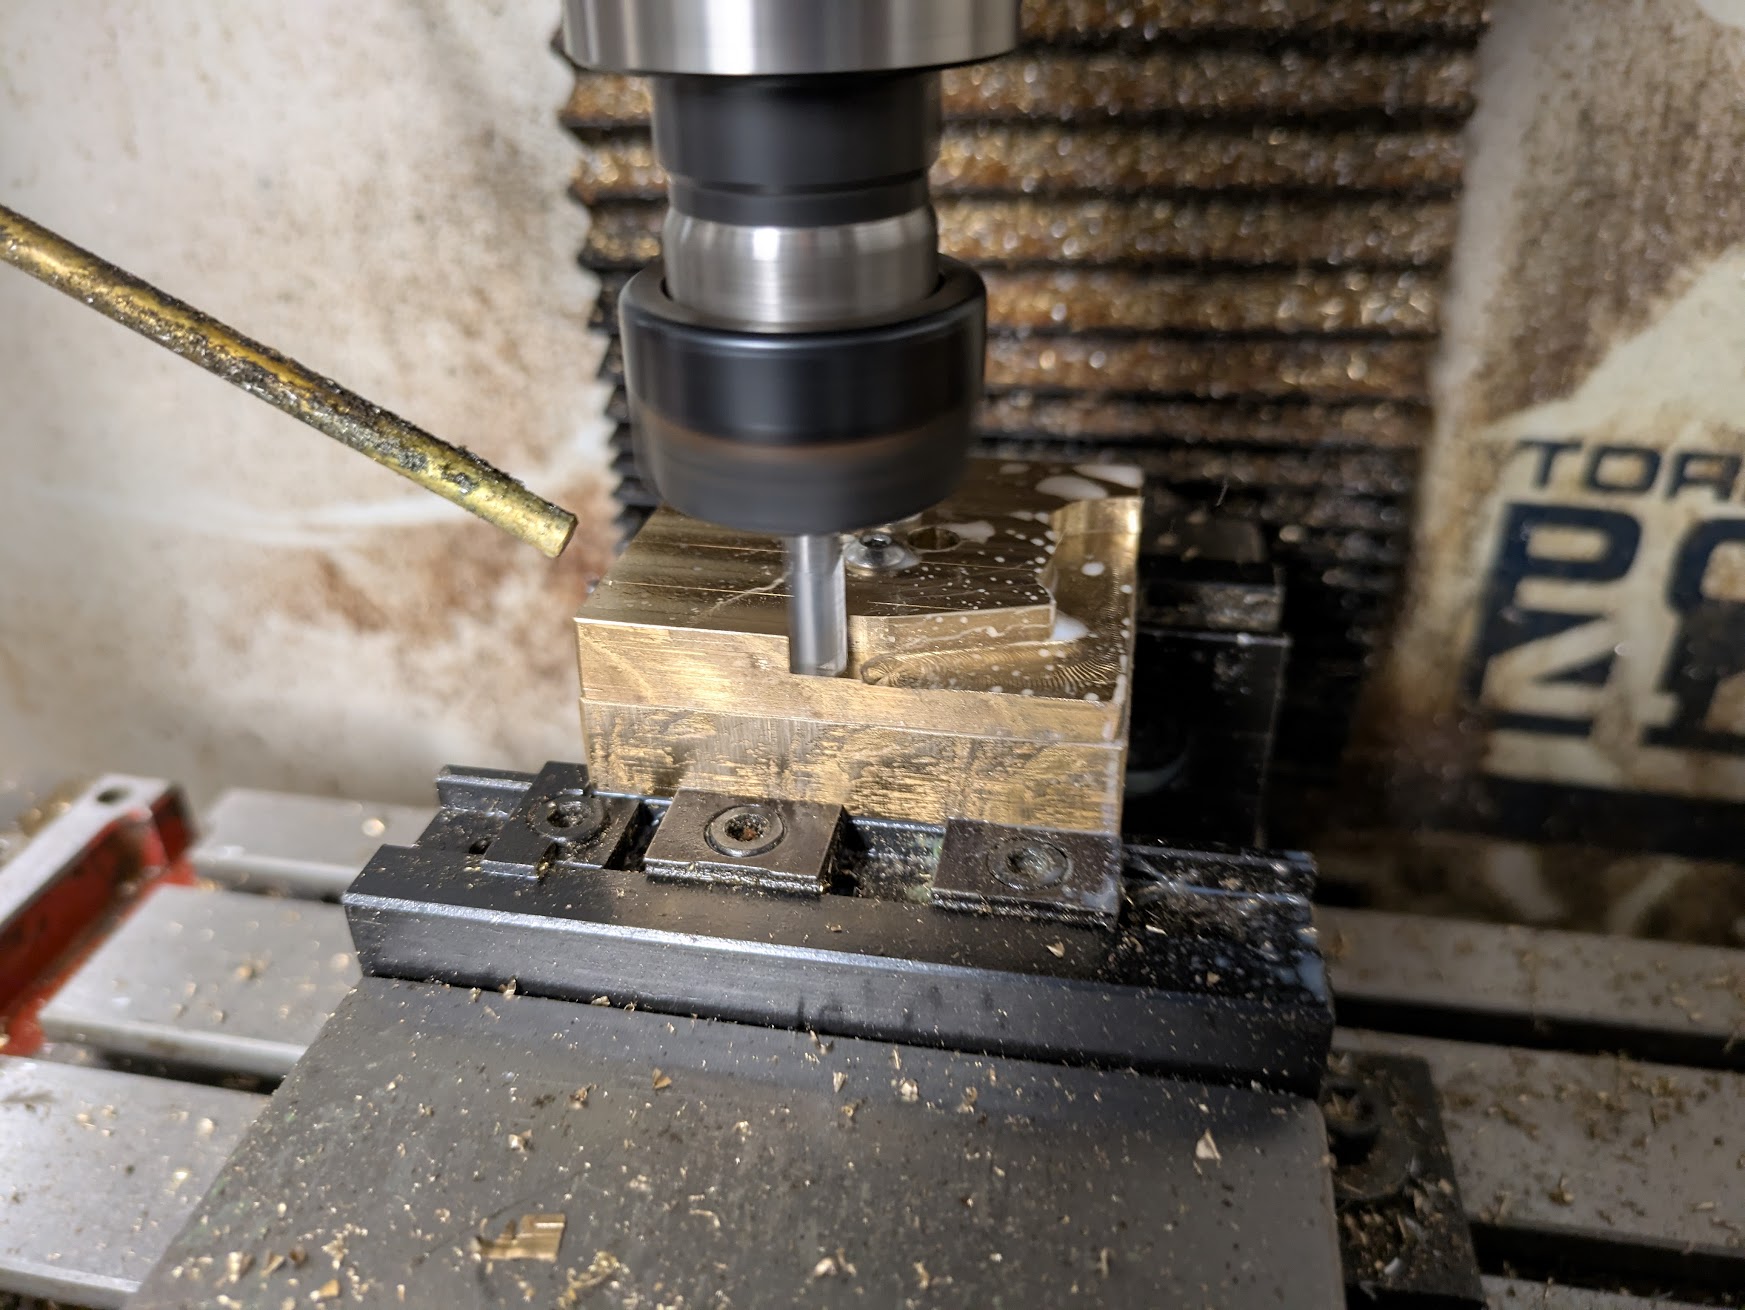
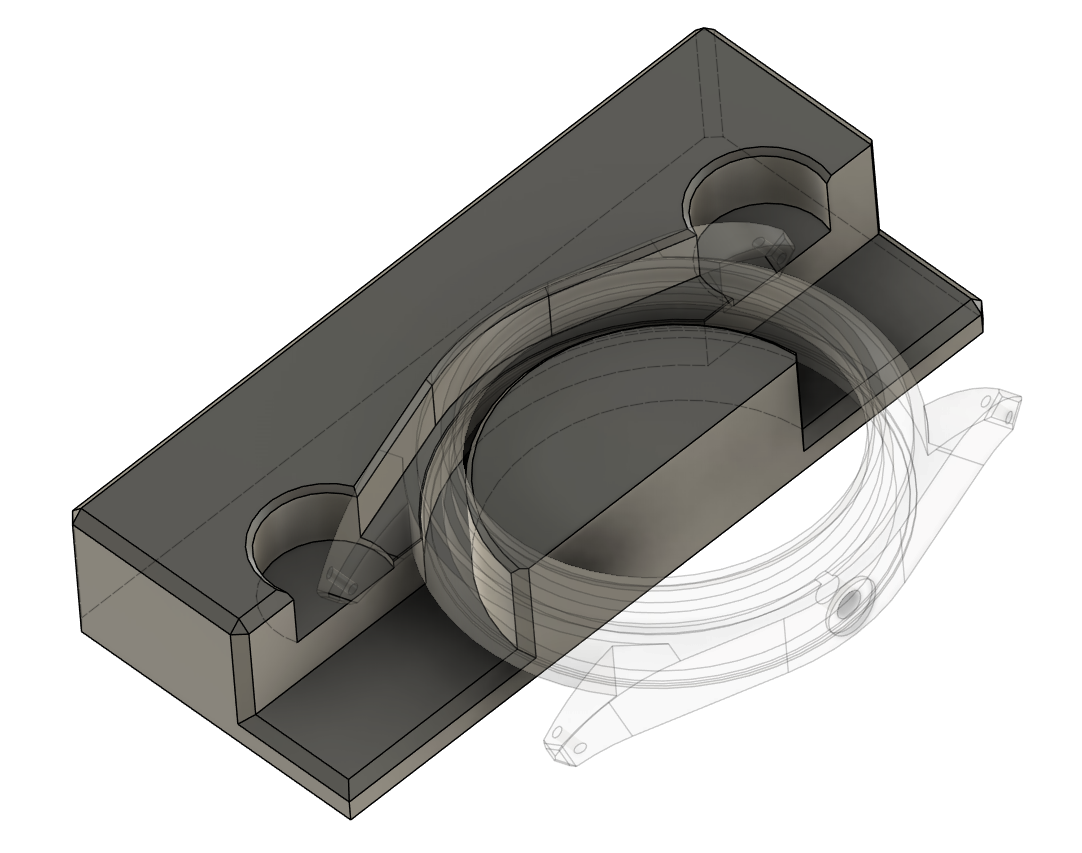
I ended up making a total of three fixtures. For the first two operations, cutting the outside, I made a fixture with two screws (the hold the material down) and two dowel pins (to precisely locate the material when I flipped it).

The material blank is drilled and reamed, and then screwed down onto the fixture for cutting. The dowels take the horizontal milling forces, and the upward force is taken on the screws.
This fixture made it super easy to accurately machine external features from both sides, with no need to re-align, probe, or indicate the part after flipping. Repeatability is within 10μm (about 5 tenths, for you inch folks), which is super respectable. Making that fixture also gave me an excuse to use my home made fly cutter.
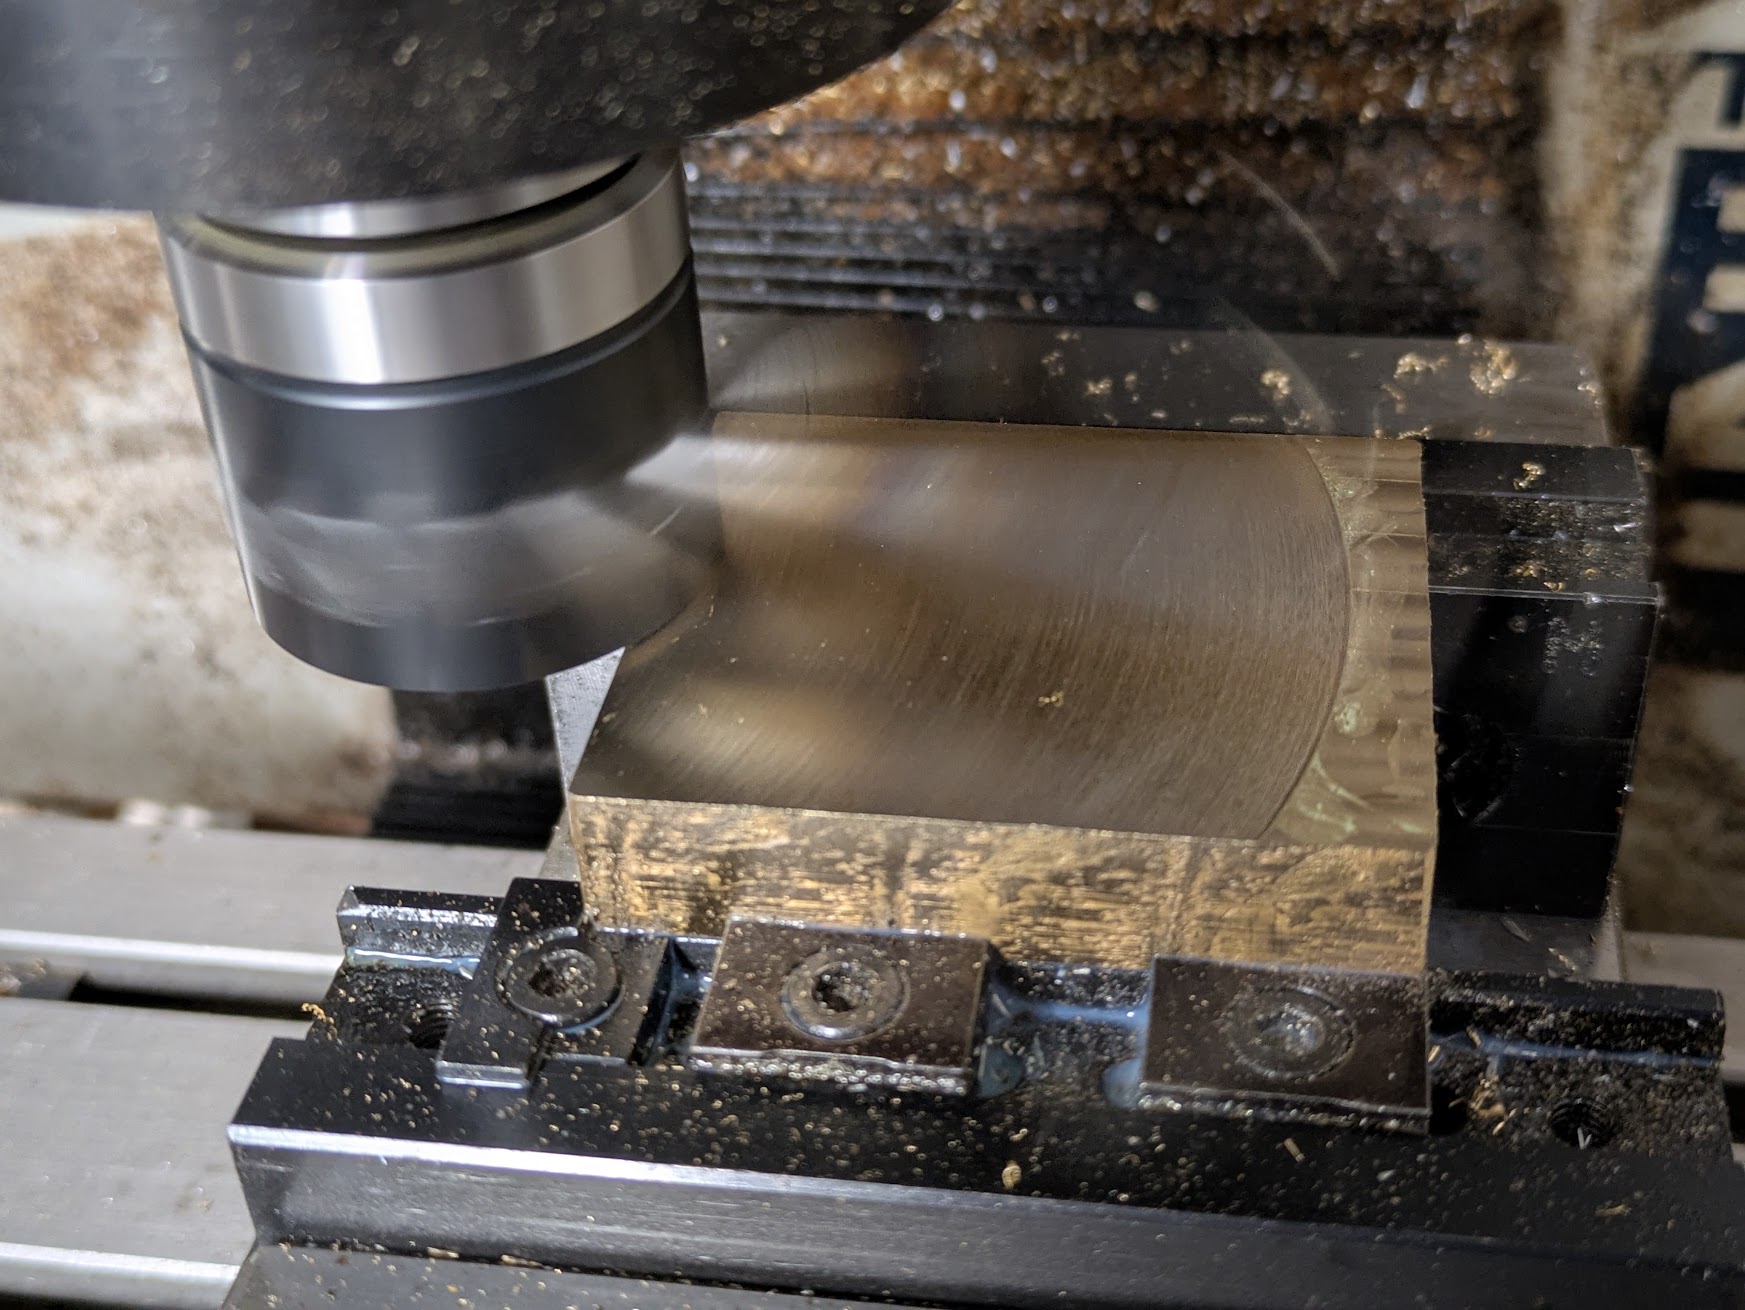
Fly cutting uses a single point tool, which makes a great flat surface. Doing this fly cutting in the vise on the machine where the actually milling is going to happen really helps repeatability and accuracy, automatically cancelling out any lack of squareness in the work holding below it.
The second fixture is a pair of soft jaws, machined out of aluminium. These replace the vise jaws, essentially making a custom vise for the watch’s exact shape. Repeatability is good here too, within around 25μm (a thou).
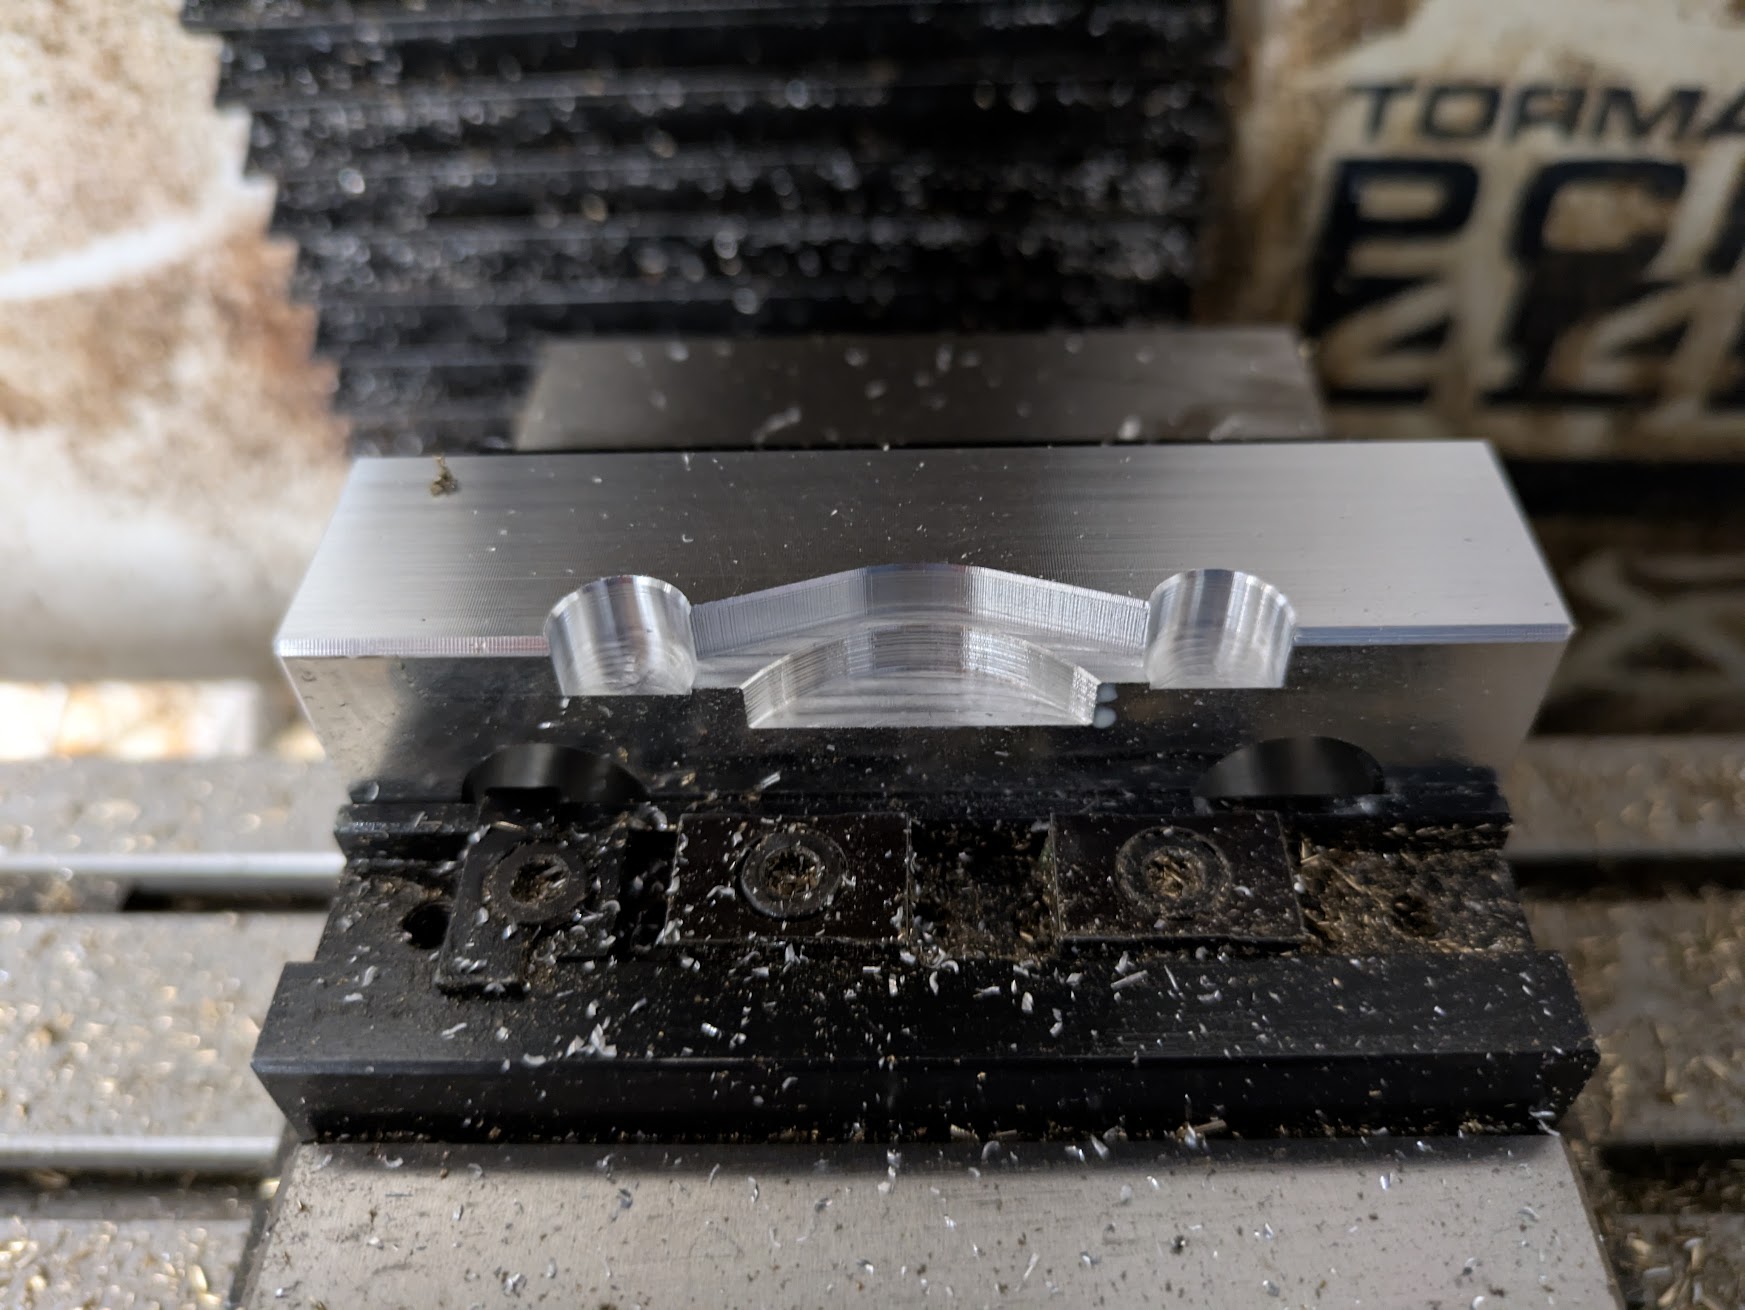
CAD makes creating soft jaws like this super easy.
Step 2: My First Screw Up
Machining the external details went great. In retrospect I should have reduced the step overs on the finishing tool paths to reduce work later, but that’s very minor. The next step was cutting out the precision center bores. That’s where things went pear shaped. Or slightly oval.
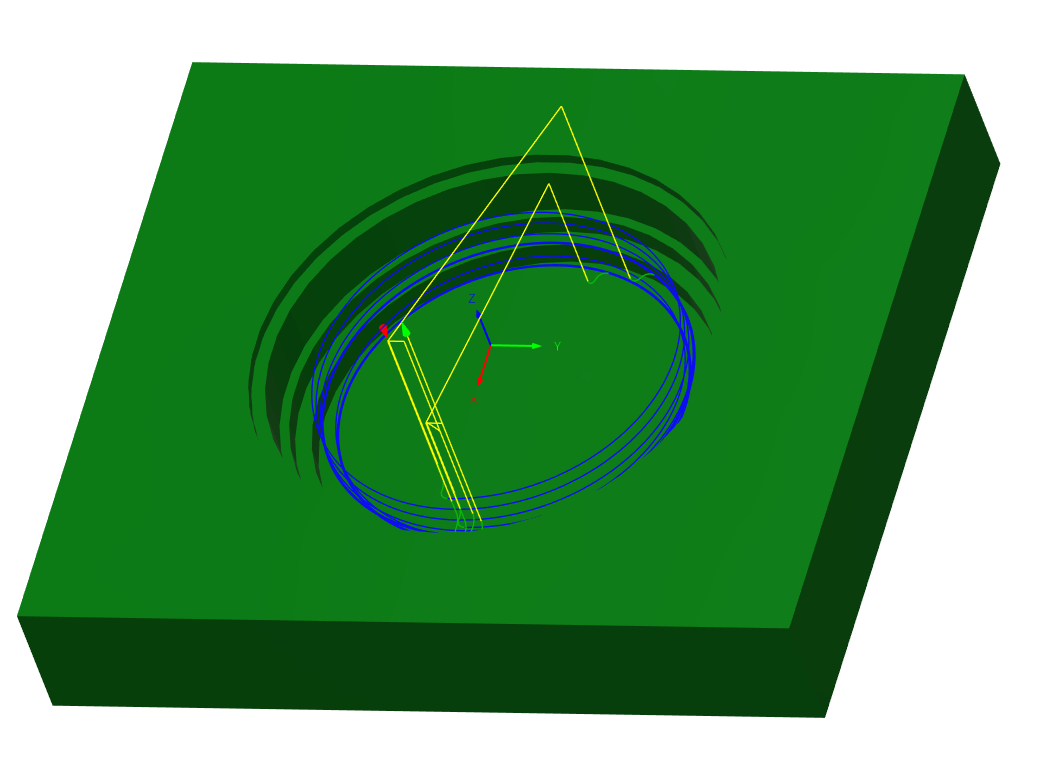
My initial plan was to do the boring on the lathe. Making perfect round details is what lathes do. Even the crappiest lathe1 can bore near-perfect bores of of brass all day long. But work holding is a bear, and so I decided to bore on the CNC mill instead. Basically, this works by having the CNC mill move the tool around in a circle. At the best of times, my little Tormach can only get circles round to within about 25μm. I wasn’t too worried, because I could always fix them with a boring head if needed.
So I held the stock in the soft jaws, and did the first set of bores. Nice.
Flipped over clamped down, and did the second set. Disaster! The precision bore for the crystal, that brittle sapphire I need to press into place, was 150μm out of round. Yuck.
That’s less than 0.5% out of round, but plenty to ruin my press fit.
What happened is obvious in retrospect: the soft jaws squeezed this delicate object from the sides, making it a slight oval. In place, clamped into the vise, it’s round to within 20μm. Release the vise, and it’s 150μm out of round.
Step 3: A Second Mistake to Cancel the First
Fixing an out-of-round bore isn’t hard: find a better way to hold the part, and use a lathe or boring head to machine a circle at the oval’s major diameter. Fixing an out-of-round bore where the major diameter is too big is very hard indeed. Running the lathe in reverse sadly doesn’t add material. My basic lathe, unlike This Old Tony’s, doesn’t time travel.
And this is where I got lucky. Weirdly lucky. I pulled the crystal out of it’s packaging, and found I’d ordered a 32mm crystal rather than the 31mm crystal I’d planned.
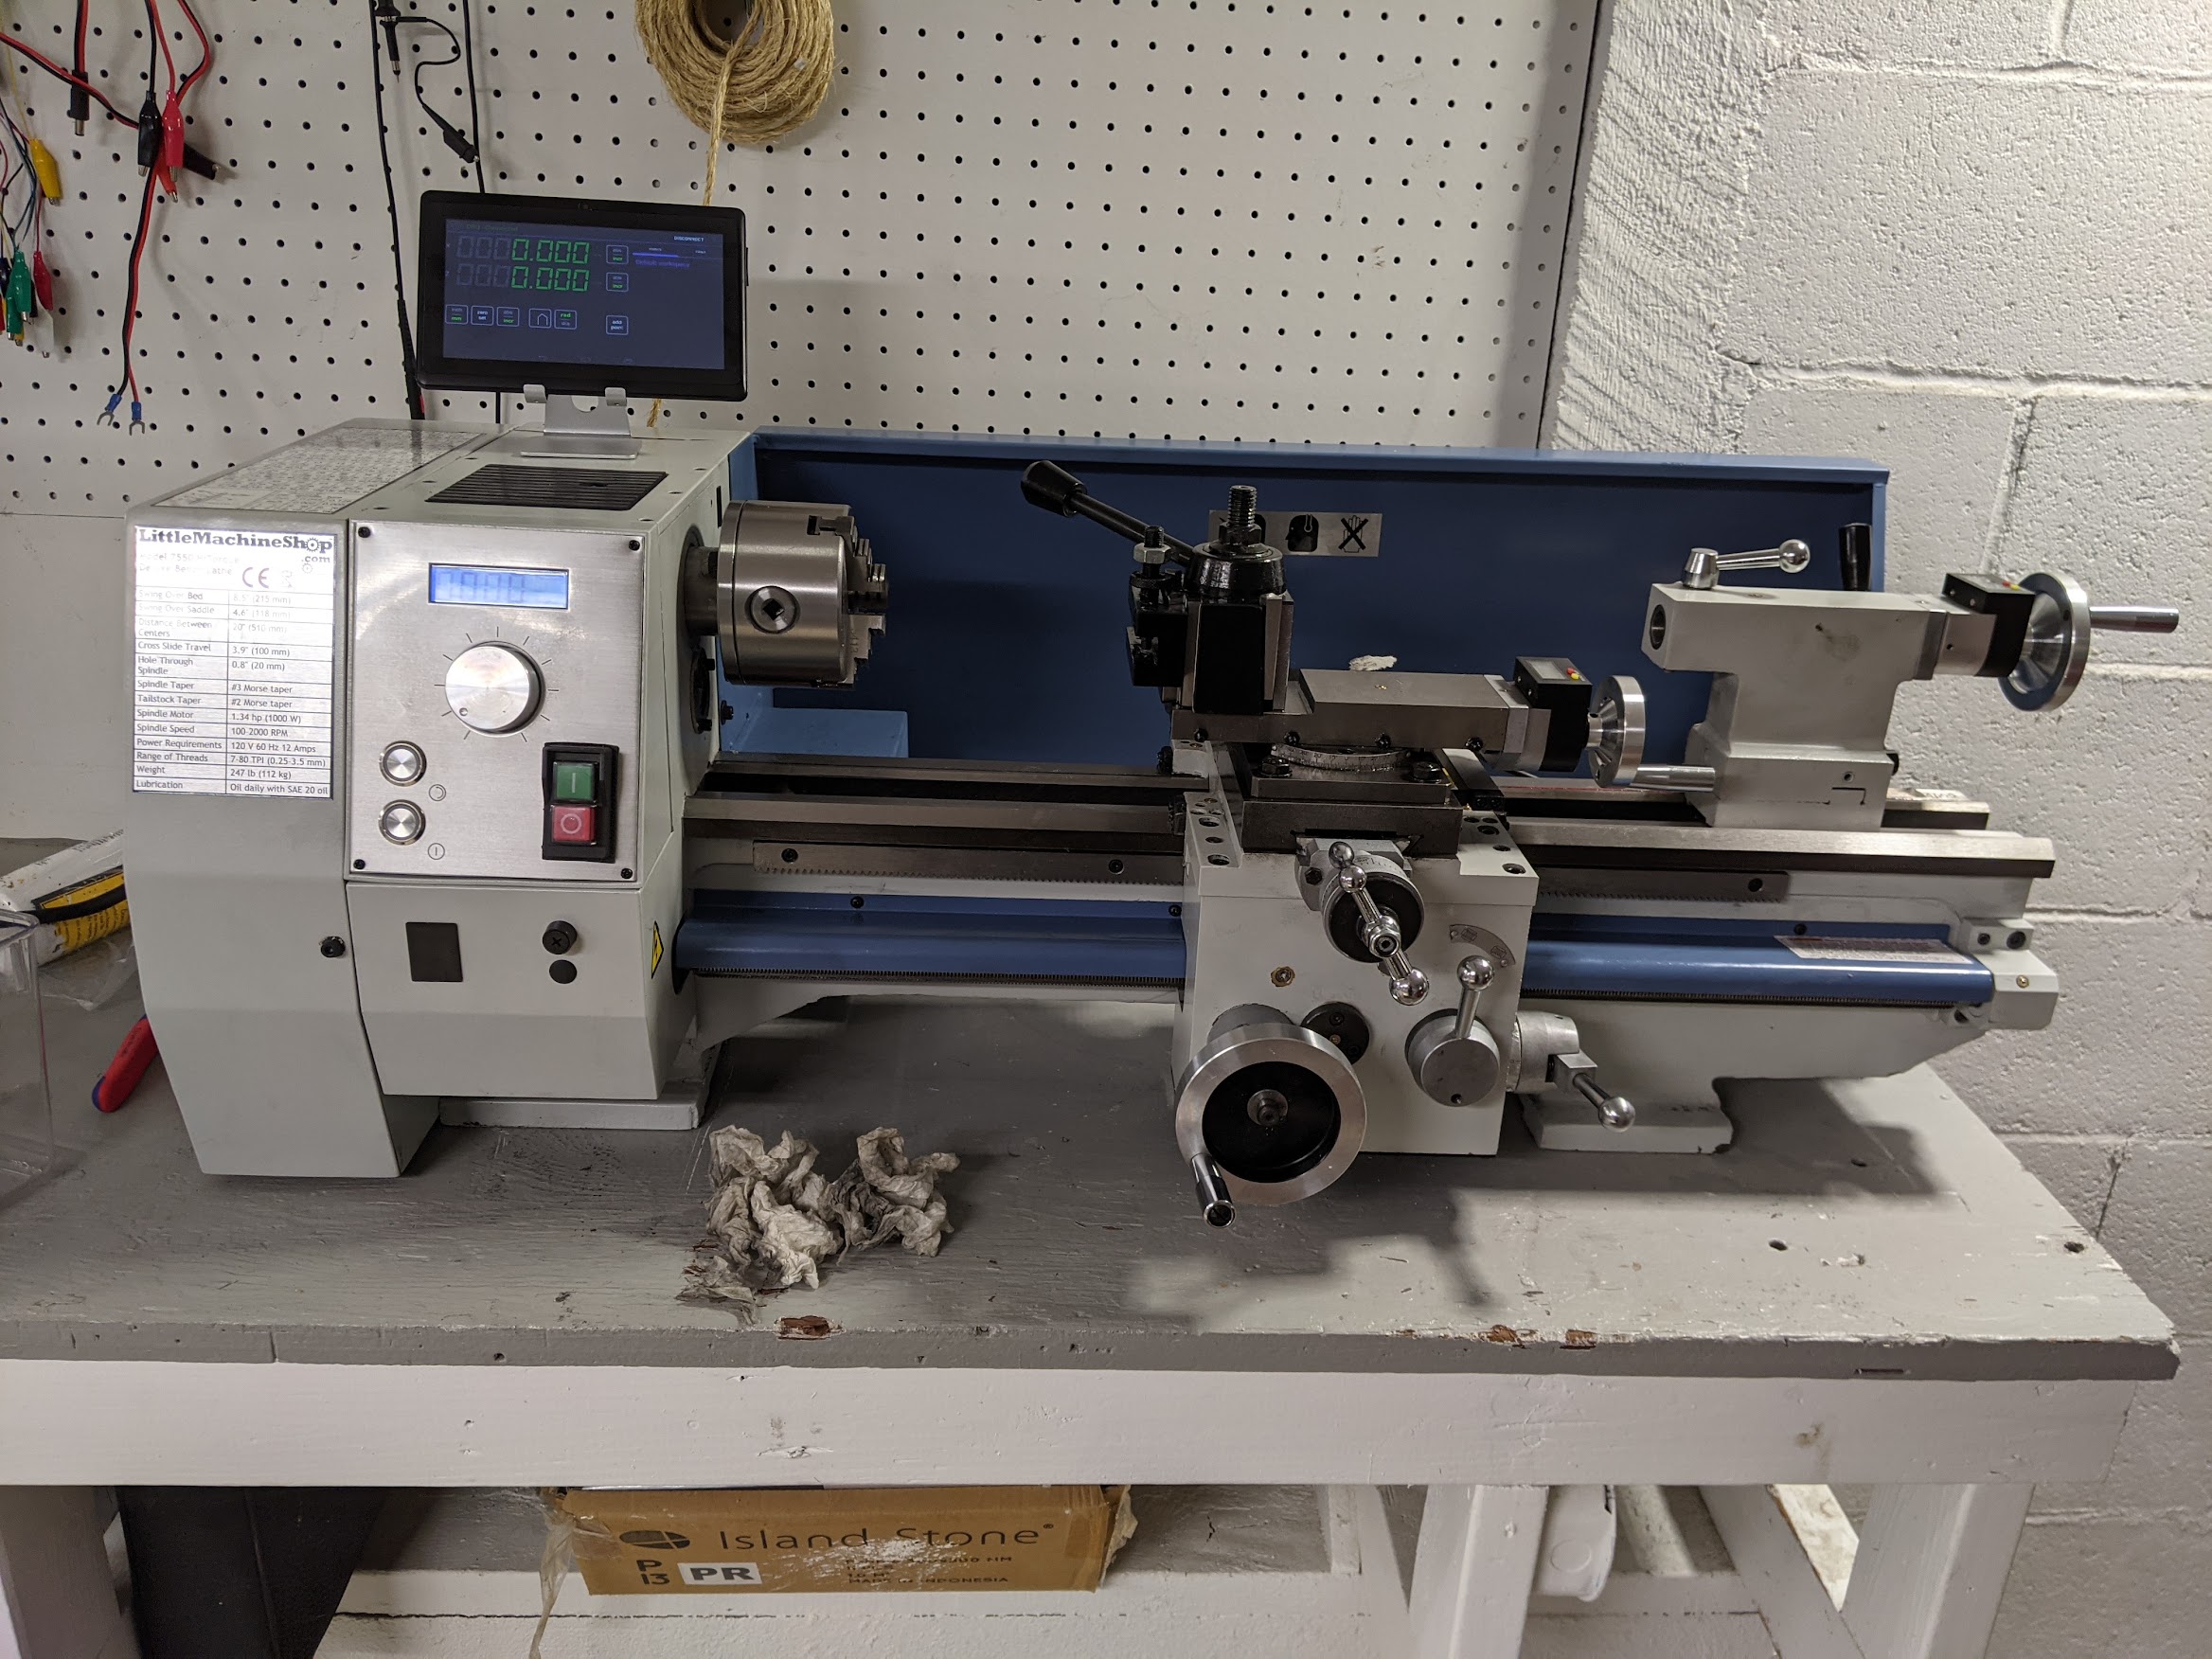
In the lathe2, gingerly held in the four jaw, I was able to open the bore up to 31.975mm for the press fit on the crystal. Sometimes things work out.
Footnotes
- My little lathe isn’t exactly crappy, but it’s not exactly high-end either.
- Lathe pictured here before it became a hybrid mechanical/cnc mutt. Maybe I’ll write that up sometime too.
Marc Brooker
The opinions on this site are my own. They do not necessarily represent those of my employer.
marcbrooker@gmail.com
